Ultimate Guide to Vacuum Cleaner Belts: Types, Materials, and When to Replace
Restore Your Vacuum's Power: The Essential Guide to Belts
The humble vacuum cleaner belt plays a critical role in your appliance's cleaning efficiency. This often-overlooked component connects the motor to the brush roll, enabling it to spin, agitate carpet fibers, and lift embedded dirt. When your vacuum struggles to pick up debris, or the brush roll stops spinning, a worn, stretched, or broken belt is frequently the culprit.
A failing belt directly impacts your vacuum's performance, reducing its ability to deep clean and leaving behind noticeable dirt. This guide aims to empower you to diagnose, understand, and confidently select the correct replacement vacuum cleaner belt for your specific model. Replacing a belt is a relatively straightforward and cost-effective repair that can restore your vacuum's peak performance, significantly extending its lifespan and often eliminating the need for a costly new purchase.
Understanding Vacuum Belts: Types and Materials
Identifying the correct replacement belt for your vacuum cleaner begins with understanding the fundamental differences in belt designs and the materials used in their construction. This knowledge is crucial for ensuring proper fit, optimal performance, and anticipating the lifespan of the replacement part.
Common Belt Designs
Vacuum cleaner belts are engineered in various shapes to suit different motor and brushroll configurations, each offering distinct characteristics in power transmission and durability.
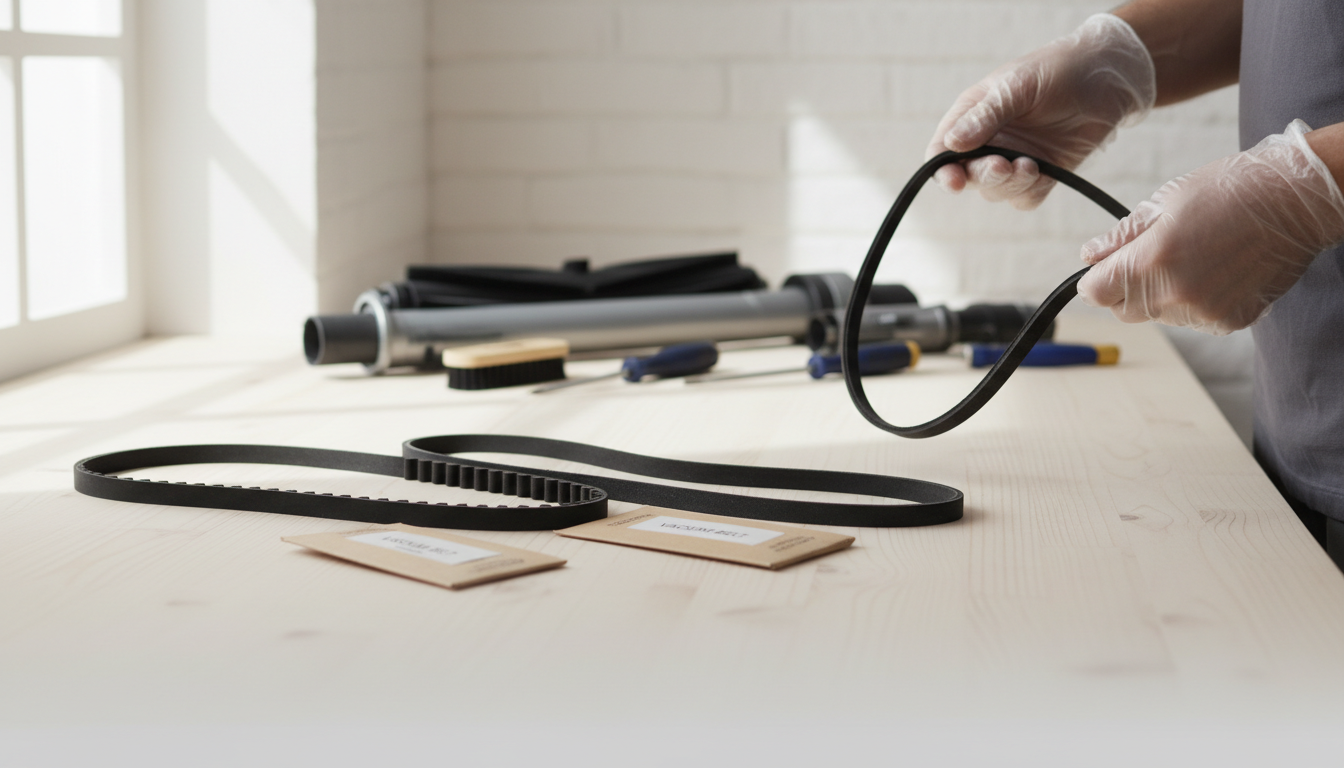
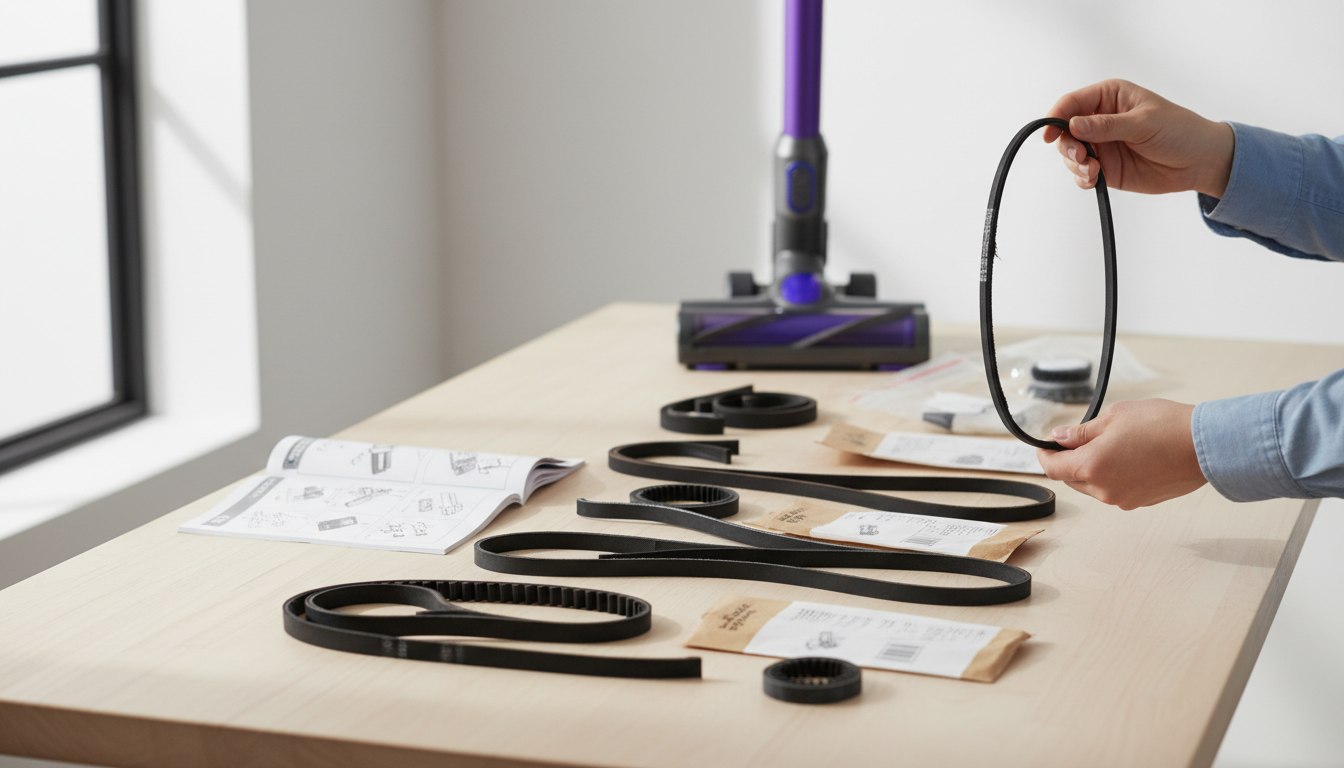
- Flat Belts: These are characterized by their thin, flat profile, resembling a wide rubber band. They typically rely on surface friction to transmit power from the motor to the brushroll. Flat belts are often found in older vacuum models or specific designs where space is limited. A common failure mode for flat belts is stretching over time, which reduces brushroll speed, or snapping due to material fatigue.
- V-Belts: Distinguished by their trapezoidal (V-shaped) cross-section, V-belts are designed to seat securely into corresponding V-shaped grooves on the motor and brushroll pulleys. This design provides superior grip and more efficient power transfer compared to flat belts, making them common in many upright and canister vacuum brushroll systems. Their V-shape helps prevent slippage, even under moderate load.
- Geared/Cogged Belts: These belts feature a series of teeth or cogs along their inner surface, which engage with matching teeth on the motor and brushroll gears. Geared belts offer highly precise and consistent power transmission, virtually eliminating slippage. They are typically found in high-performance vacuums or models requiring exact brushroll speeds, where consistent agitation is critical for deep cleaning.
Material Considerations: Rubber Versus Synthetics
The material composition of a vacuum belt significantly impacts its flexibility, resistance to wear, and overall longevity.
- Traditional Rubber Belts: Historically, most vacuum belts were made from natural or synthetic rubber compounds. These belts offer good flexibility, are widely available, and are generally cost-effective. However, rubber is susceptible to degradation from heat generated during operation, exposure to oils or cleaning agents, and simply aging. Over time, rubber belts can stretch, crack, or become brittle, leading to reduced brushroll performance or complete breakage.
- Synthetic Belts: Modern vacuum belts increasingly utilize synthetic materials, such as polyurethane. These materials are engineered for enhanced durability and performance. Polyurethane belts, for example, offer superior resistance to stretching, heat, and abrasion compared to traditional rubber. This often translates to a longer operational lifespan and more consistent brushroll speed over time.
When choosing between materials, consider the trade-offs: traditional rubber belts offer a lower initial cost, while synthetic alternatives, though potentially more expensive upfront, can provide increased durability and a longer service interval, potentially reducing the frequency of replacements.
Diagnosing, Maintaining, and Extending Your Vacuum Belt's Life
Understanding the condition of your vacuum cleaner belt is crucial for consistent cleaning performance and the longevity of your appliance. A belt that is no longer functioning optimally can manifest in various ways, impacting both effectiveness and potentially leading to more significant repairs if left unaddressed. Proactive diagnosis and maintenance can help extend the life of this vital component.
Recognizing a Worn or Broken Belt
Identifying a failing vacuum belt often involves observing changes in your vacuum's operation or a direct visual check.
- Loss of Brushroll Spin or Reduced Suction: If your vacuum's brushroll either stops spinning entirely or spins sluggishly, especially when making contact with carpeted surfaces, a compromised belt is a primary suspect. This directly affects the vacuum's ability to agitate fibers and lift embedded dirt, leading to noticeably poorer cleaning performance.
- Burning Rubber Smell or Unusual Noises: A distinct burning rubber odor during vacuum operation is a strong indicator of a belt that is slipping, overheating due to friction, or about to break. Additionally, new grinding, squealing, or high-pitched whining noises emanating from the brushroll area can signal a stretched or damaged belt struggling to maintain tension.
- Visible Fraying, Cracking, Stretching, or Complete Breakage: The most definitive way to diagnose a belt issue is through visual inspection. After unplugging the vacuum and accessing the brushroll area (often by removing a bottom plate), examine the belt for signs of wear. Look for cracks, fraying edges, excessive stretching (where it appears loose), or a complete severance.
The Impact of a Faulty Belt
Operating your vacuum with a worn or broken belt can have several detrimental effects beyond just reduced cleaning power.
- Compromised Cleaning Effectiveness: A belt that cannot properly drive the brushroll significantly diminishes the vacuum's ability to pick up debris, particularly pet hair, deep-seated dirt, and larger particles from carpets. This means more passes are required, and even then, the cleaning may be inadequate.
- Potential Damage to Other Vacuum Components: A struggling or broken belt can put undue stress on the vacuum's motor. When the motor has to work harder to compensate for a slipping belt or attempts to spin a brushroll with a broken one, it can lead to overheating or premature wear of the motor itself. Similarly, the brushroll bearings can experience increased strain, potentially leading to failure.
- Safety Concerns: An overworked motor due to a faulty belt can generate excessive heat, which, in rare cases, could pose a risk of overheating within the appliance. While modern vacuums have safety cut-offs, consistently straining the motor can lead to electrical issues or shorten the overall safe operational life of the unit.
Key Criteria for Choosing the Right Replacement Vacuum Belt
Selecting the correct replacement belt for your vacuum cleaner is crucial for restoring its performance and preventing further issues. This decision involves more than just finding a belt that "looks similar"; it requires careful attention to specific details to ensure proper function and longevity.
Compatibility is Paramount: Model and Part Number
The most critical step in choosing a replacement belt is ensuring it's specifically designed for your vacuum cleaner's make and model. Vacuum manufacturers engineer their appliances with precise belt specifications to deliver optimal brush roll speed and tension.
- Locate Your Vacuum's Model Number: This is typically found on a sticker or plate on the vacuum's main body, often on the back, bottom, or near the handle. Even slight variations in model numbers (e.g., "XYZ-100" vs. "XYZ-101") can indicate different belt requirements.
- Identify the Existing Belt's Part Number: If your old belt is still intact or you have its packaging, look for a printed part number. This number is the most reliable identifier for an exact replacement.
- Avoid Universal Belts: While some generic "universal" belts are marketed, they rarely provide the exact fit and tension required. Using an ill-fitting belt can lead to premature wear, reduced cleaning efficiency, or even damage to the motor or brush roll bearings due to incorrect stress. An exact match ensures the brush roll spins at the intended speed with appropriate resistance.
Measuring for a Perfect Fit
When the original part number isn't available, or the old belt is broken and stretched, accurate measurement becomes essential. Guessing the size can lead to performance issues or component damage.
- Determine Length: If the old belt is broken, lay the pieces end-to-end to get the total circumference. If it's intact but stretched, measure its relaxed circumference. Keep in mind that new belts are designed to be slightly smaller than the stretched old one to provide proper tension.
- Measure Width: Use a ruler or caliper to measure the width of the belt. This dimension is critical for ensuring the belt sits correctly in the motor and brush roll pulleys.
- Check Thickness: While less common to vary, confirm the thickness of the old belt. An excessively thick or thin belt might not seat properly in the pulley grooves.
- Consequences of Incorrect Fit: A belt that is too tight will strain the motor, potentially leading to overheating and premature failure, and can prevent the brush roll from spinning freely. Conversely, a belt that is too loose will slip, causing the brush roll to stop or spin inconsistently, drastically reducing cleaning power.
Material and Durability Considerations
Vacuum cleaner belts are primarily made from either rubber or synthetic materials, each offering different characteristics regarding lifespan and performance. Understanding these differences can inform your choice, especially if you have options for your model.
- Rubber Belts: These are common and generally more flexible initially. However, rubber is prone to stretching, cracking, and degrading over time, particularly when exposed to heat generated during vacuum operation. They typically have a shorter lifespan and may require more frequent replacement.
- Synthetic Belts (e.g., Polyurethane): Often marketed as "long-life" or "no-stretch" belts, synthetic materials offer superior durability and resistance to stretching and cracking. They maintain consistent tension for longer periods, contributing to sustained cleaning performance. While potentially a slightly higher initial cost, their extended lifespan can offer better value for frequent or heavy-duty use.
Consider your vacuum's usage patterns when evaluating material. For vacuums used daily or for extensive cleaning tasks, a durable synthetic belt might be a more practical choice. For lighter, occasional use, a standard rubber belt may suffice.
Common Pitfalls and Ensuring a Proper Fit for Your New Belt
Replacing a vacuum cleaner belt can significantly improve performance, but missteps in selection or installation can lead to continued issues or even damage. Understanding these potential problems helps ensure your new belt operates effectively and lasts as intended.
Avoiding Common Buyer Mistakes
Selecting the correct belt goes beyond just finding one that looks similar. Specific characteristics dictate compatibility and performance.
- Purchasing the wrong type: Vacuum cleaner belts come in distinct types, primarily flat, V-belts, and geared (or ribbed) belts. Each is designed for a specific drive mechanism. Using a flat belt where a geared belt is required, for instance, will result in the brushroll not spinning or the belt slipping immediately. Always verify the required type for your specific vacuum model.
- Selecting the incorrect size: A belt that is too long will lack the necessary tension to drive the brushroll effectively, leading to slippage and poor cleaning. Conversely, a belt that is too short will be under excessive tension, straining the motor and likely breaking prematurely. Refer to your vacuum's manual or the old belt's specifications for the precise length and width.
- Ignoring quality: While budget-friendly options exist, there's often a trade-off between cost and durability. Cheaper belts may use materials that degrade faster, lack consistent elasticity, or are more prone to stretching and cracking under normal operating conditions. Investing in a belt designed to meet or exceed original equipment specifications can prevent frequent replacements and maintain consistent cleaning power.
Fit Limits and Potential Failure Points
Even with the correct belt type and size, improper tension or external factors can compromise its lifespan and your vacuum's effectiveness.
- Belt too tight: An overly tight belt places undue strain on the vacuum's motor, potentially causing it to overheat or fail prematurely. It can also bind the brushroll, reducing its rotational speed and making it less effective at agitating carpets. This excessive tension is a common cause of new belts snapping quickly after installation.
- Belt too loose: A loose belt will slip on the motor shaft and brushroll pulley, preventing the brushroll from spinning or causing it to spin inconsistently. This directly impacts cleaning performance, as the brushroll cannot effectively lift dirt and debris. Slipping also generates friction and heat, which can degrade the belt material over time.
- External factors damaging new belts: Even a perfectly installed new belt can fail prematurely due to other issues within the vacuum.
- Hair and debris entanglement: If hair, string, or other fibrous debris frequently wraps around the brushroll, it creates resistance that forces the belt to work harder, leading to stretching, overheating, and eventual breakage. Regular brushroll cleaning is crucial.
- Brushroll bearing issues: Worn or seized brushroll bearings prevent the brushroll from spinning freely. This increased resistance puts immense stress on the drive belt, causing it to wear out rapidly.
- Motor or pulley misalignment: In rare cases, internal motor or pulley issues can cause misalignment, leading to uneven belt wear and premature failure.
Step-by-Step: How to Replace Your Vacuum Cleaner Belt
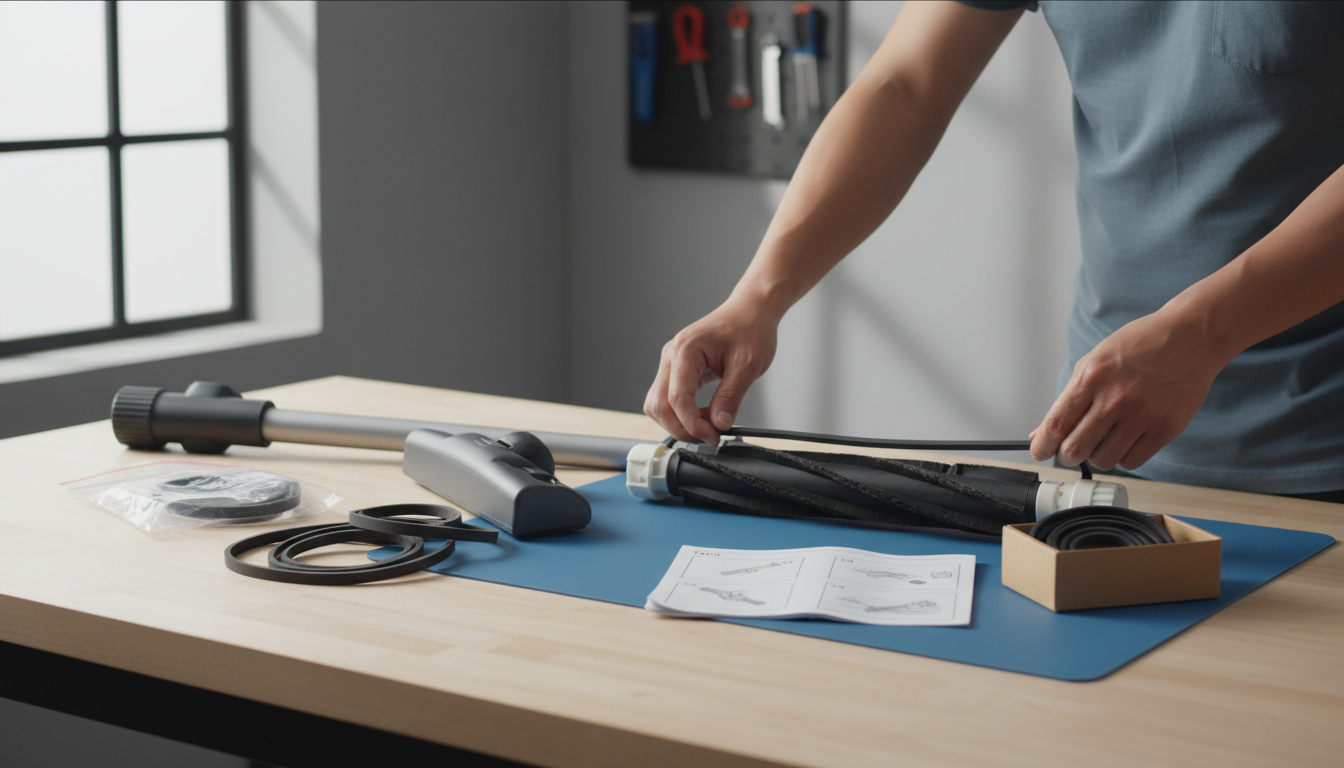
Replacing a vacuum cleaner belt is a common maintenance task that can significantly improve your vacuum's performance. While models vary, the fundamental process remains consistent. Following these steps can help restore your appliance's cleaning power efficiently and safely.
Safety First: Preparation Steps
Before beginning any repair, prioritize your safety to prevent injury or damage to the appliance.
- Unplug the Vacuum: This is the most crucial step. Always disconnect the vacuum from its power source to eliminate any risk of electric shock or accidental activation of moving parts.
- Gather Your Tools: Having the right tools readily available streamlines the process. You may need:
- Screwdrivers (Phillips, flathead, or Torx, depending on your model)
- Pliers (for stubborn clips or pins)
- Protective gloves (to protect hands from sharp edges or grime)
- Safety glasses (to shield eyes from debris)
- Your new replacement vacuum belt
- Clear Work Area: Lay down a towel or drop cloth on a clean, well-lit surface to protect both your floor and the vacuum components. This also helps prevent small screws or parts from getting lost.
Accessing and Removing the Old Belt
Gaining access to the belt typically involves opening the brushroll housing, which can differ slightly across vacuum designs. Consult your vacuum's owner's manual for model-specific instructions if you encounter difficulty.
- Open the Brushroll Housing:
- Many upright vacuums have a bottom plate secured by screws or latches. Flip the vacuum over to access this.
- Canister or stick vacuums might require detaching the power nozzle or head.
- Carefully remove any screws or release clips holding the cover in place. Keep screws organized to simplify reassembly.
- Detach the Brushroll: Once the housing is open, you will see the brushroll. It's usually held in place by end caps or clips. Gently lift or slide it out of its bearings. Note its orientation to ensure correct reinstallation.
- Remove the Old Belt: Locate the old belt, which will likely be stretched, frayed, or broken. It typically connects the brushroll to a motor shaft or pulley. Carefully slide it off the brushroll and the motor shaft. If it's broken, remove all pieces.
Installing the New Belt
Proper installation of the new belt ensures correct tension and functionality, allowing your brushroll to spin effectively.
- Position the New Belt: Loop the new belt around the motor shaft or pulley first. This small shaft is usually located near the center of where the brushroll sits.
- Seat on the Brushroll: Carefully align the new belt with the groove on the brushroll. It may require some stretching to fit, which is normal for a new belt to ensure proper tension.
- Reinstall the Brushroll: Place the brushroll back into its housing, ensuring the ends are securely seated in their designated slots or bearings. Make sure the belt remains correctly positioned around both the motor shaft and the brushroll groove.
- Test and Reassemble: Manually rotate the brushroll a few times to confirm the belt is seated properly and moves freely without slipping. Then, reattach the brushroll housing cover, securing any screws or latches. Flip the vacuum upright, plug it in, and perform a brief test to ensure the brushroll spins correctly.
Frequently Asked Questions About Vacuum Cleaner Belts
Understanding the nuances of vacuum cleaner belts can help prolong your appliance's life and maintain its cleaning efficiency. Here are answers to common questions regarding these essential components.
-
How often should I replace my vacuum cleaner belt? The frequency of belt replacement can vary based on usage and vacuum type. For average household use, it's generally recommended to inspect your belt every 3-6 months and consider replacement annually. Vacuums used frequently, or for heavy-duty cleaning, may require more frequent changes. Always consult your vacuum's owner's manual for specific manufacturer recommendations.
-
Can I use a universal replacement belt for any vacuum? No, using a "universal" belt is generally not advisable. Vacuum cleaner belts are engineered with specific dimensions (length, width, and thickness) and tension requirements tailored to particular vacuum makes and models. An incorrectly sized belt, even if it appears to fit, can lead to poor performance, premature wear, or damage to the vacuum's motor or brush roll mechanism.
-
What are the signs that my vacuum belt needs replacing? Several indicators suggest a failing belt. The most common signs include:
- The brush roll stops spinning or spins intermittently.
- A noticeable decrease in cleaning performance, especially on carpets, as the brush roll isn't agitating effectively.
- A burning rubber smell, which often indicates a slipping or worn belt.
- Visible damage to the belt, such as cracks, fraying, stretching, or a complete break.
- An unusual squealing noise coming from the brush roll area.
-
What happens if I use a belt that is too tight or too loose? Using an incorrectly tensioned belt can cause significant issues. A belt that is too tight places excessive strain on the vacuum's motor, potentially leading to overheating and premature motor failure. It can also cause the belt itself to snap quickly. Conversely, a belt that is too loose will slip, preventing the brush roll from spinning at its optimal speed or at all, resulting in poor cleaning performance and potential damage from friction.
-
How do I find the correct replacement belt for my specific vacuum model? To ensure you purchase the right belt, locate your vacuum cleaner's specific model number. This is typically found on a sticker or plate on the back, bottom, or side of the vacuum. Once you have the model number, you can:
- Refer to your vacuum's owner's manual, which often lists compatible part numbers.
- Search online retailers or parts suppliers using your vacuum's make and model number.
- If possible, examine the existing belt for any printed part numbers or dimensions.
Keep Your Home Clean: The Right Belt Makes All the Difference
Understanding the nuances of vacuum cleaner belts—from their various types and materials to the precise fit required—is fundamental to maintaining an effective cleaning routine. As this guide has outlined, selecting the correct replacement belt, specifically matching its type and size to your vacuum model, is not merely a technical detail; it directly influences your appliance's ability to perform its core function. An ill-fitting or incorrect belt can lead to poor suction, brush roll malfunction, and even damage to the vacuum's motor.
A properly functioning belt ensures your vacuum's brush roll spins at its optimal speed, effectively agitating carpets to dislodge embedded dirt and debris. This translates directly into improved cleaning performance, leaving your floors visibly cleaner and your home healthier. Beyond immediate cleaning results, a well-maintained belt also contributes to the longevity of your vacuum cleaner, preventing undue strain on internal components and potentially saving you from premature replacement costs. It's a small component with a significant impact on both efficiency and lifespan.
Armed with the knowledge from this guide, you are now equipped to confidently identify, purchase, and replace the appropriate belt for your vacuum. By taking these proactive steps, you can restore your appliance's power, ensure consistent cleaning results, and extend the life of your investment, keeping your home clean and your vacuum running smoothly for years to come.
More in Vacuum Cleaner Belts
View All