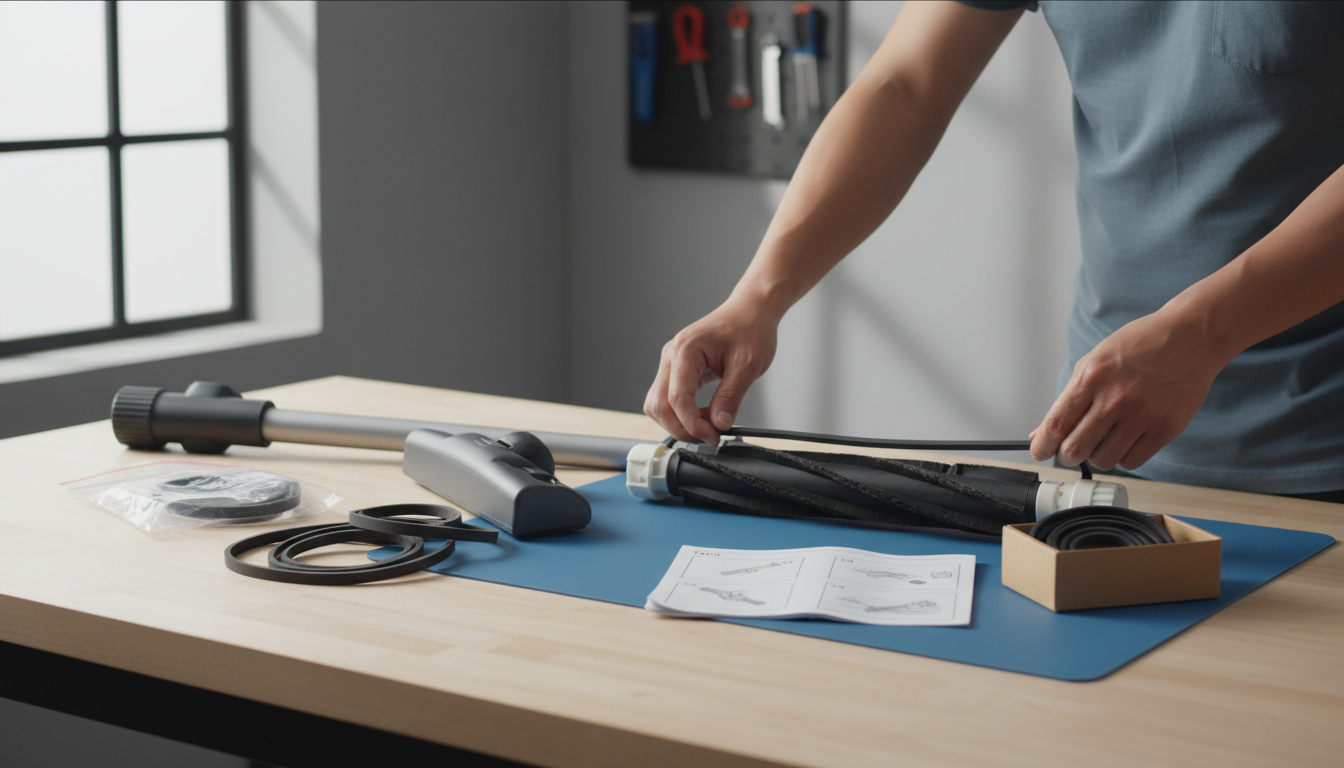
Choosing the Right Vacuum Cleaner Belts by Size: A Guide to Compatibility
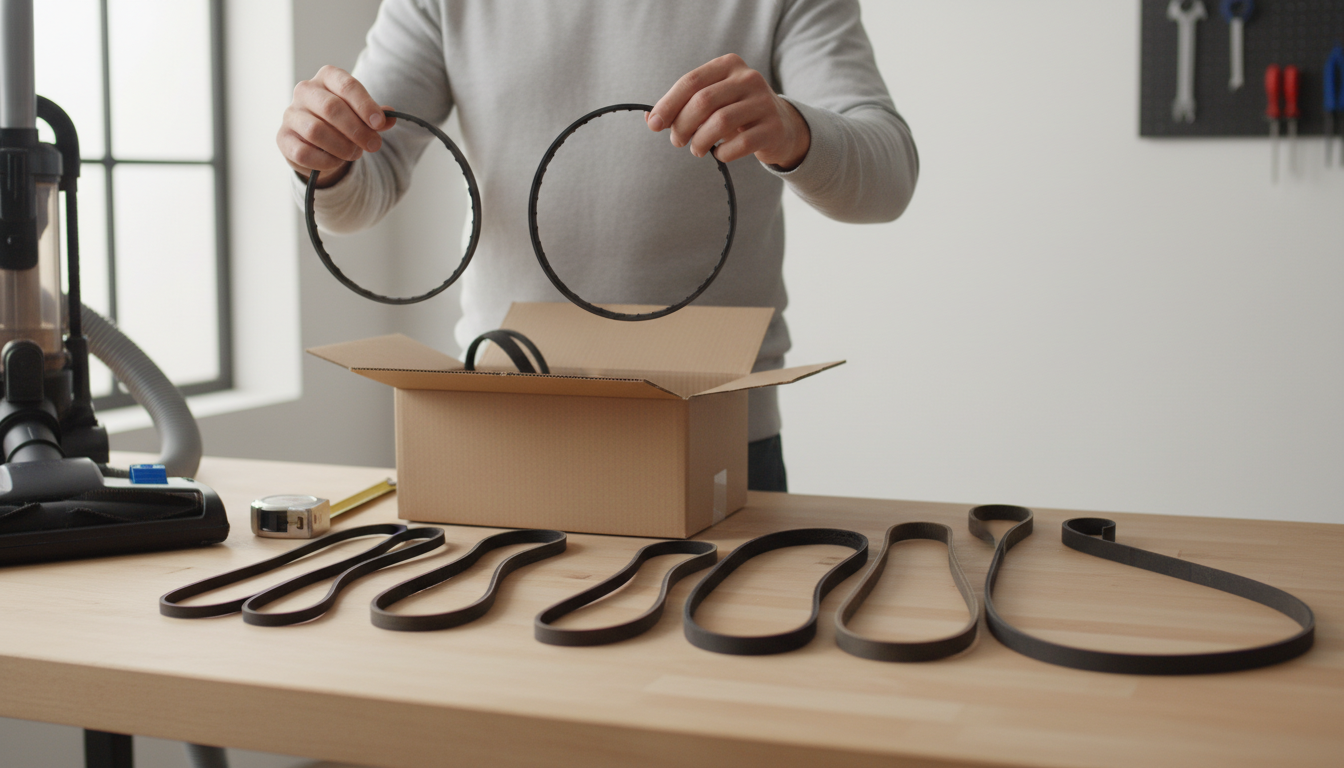
Finding the Perfect Fit: Your Guide to Vacuum Cleaner Belts by Size
A broken or slipping vacuum cleaner belt can quickly transform a cleaning routine into a frustrating standstill, leaving your brushroll idle and dirt behind. Many DIY vacuum owners encounter this exact problem, only to discover that replacing the belt isn't always as simple as grabbing a generic part. The truth is, when it comes to vacuum cleaner belts, a "one size fits all" approach rarely works, and an incorrect choice can lead to immediate failure or reduced performance.
Selecting the right replacement belt is crucial for restoring your vacuum's optimal functionality. This guide aims to demystify the process, providing you with the knowledge to accurately identify the specific belt needed for your model. We'll cover:
- Understanding the different types of vacuum belts.
- Key criteria for determining the correct size.
- Common pitfalls to avoid during your purchase.
By focusing on these practical considerations, you can confidently select the precise vacuum cleaner belts by size that your machine requires, ensuring effective cleaning and extending the life of your appliance.
Why the Right Belt Size is Crucial for Your Vacuum's Performance
The vacuum cleaner belt is a fundamental component, acting as the critical link that transfers power from the motor to the brushroll. This connection enables the brushroll to spin, agitating carpet fibers and lifting embedded dirt, which is essential for effective cleaning. Without a properly functioning belt of the correct size, your vacuum cannot perform its primary cleaning tasks efficiently, impacting both its effectiveness and longevity.
Using an undersized belt creates excessive tension. This can lead to the belt snapping prematurely, sometimes immediately upon installation or after minimal use. Beyond immediate breakage, an overly tight belt places undue strain on the vacuum's motor and brushroll bearings, potentially causing them to overheat or fail prematurely. This added stress can significantly shorten the lifespan of these vital components, leading to costly repairs or replacement of the entire unit.
Conversely, an oversized or loose belt cannot maintain proper grip. This results in the belt slipping on the motor shaft or brushroll, causing the brushroll to rotate slowly, intermittently, or not at all. When the brushroll fails to spin adequately, it cannot effectively agitate carpet fibers, leaving dirt and debris behind. This directly translates to reduced cleaning performance and diminished suction power, as the brushroll's action is integral to lifting debris into the airflow. A slipping belt also experiences increased friction and heat, leading to its own premature wear and frequent replacement.
Ultimately, an incorrectly sized belt compromises your vacuum's ability to clean thoroughly, requiring more passes to achieve less impressive results. It also introduces unnecessary wear and tear on internal components, potentially leading to more frequent maintenance or even system failure. Ensuring the correct belt size is a foundational step in maintaining optimal cleaning efficiency and extending the operational life of your vacuum.
Decoding Vacuum Belt Types: Flat, V-Belts, and Cogged Designs
Before determining the precise dimensions, identifying the fundamental type of vacuum cleaner belt your machine utilizes is a critical first step. Vacuum manufacturers employ various belt designs, each engineered to perform optimally within specific vacuum architectures and power transfer requirements. Understanding these distinctions helps prevent compatibility errors and ensures the replacement belt functions as intended.
The most straightforward and widely encountered design is the flat belt. These are typically thin, flat bands of rubber or synthetic material that loop around the motor shaft and the brushroll pulley. Their simplicity makes them common in many older or entry-level upright vacuums. While effective for general agitation, they can be prone to slipping under heavy load or as they age and stretch.
For applications requiring more robust power transfer and improved grip, V-belts are often employed. Characterized by their wedge-shaped cross-section, these belts fit into corresponding V-shaped grooves on the motor and brushroll pulleys. This design increases the contact area and friction, significantly reducing slippage compared to flat belts, making them suitable for more powerful brushrolls or those designed for deeper carpet agitation.
A third distinct category includes cogged or toothed belts, sometimes referred to as synchronous belts. Unlike flat or V-belts that rely on friction, cogged belts feature teeth that interlock with matching grooves on the pulleys. This positive engagement ensures a precise, slip-free transfer of power, maintaining a consistent brushroll speed regardless of load. Such belts are often found in vacuums where exact brushroll synchronization is crucial for cleaning performance or specific design features.
Beyond these common types, some vacuum models may utilize proprietary or serpentine belts. These can be unique in their shape, material, or multiple ribs, often designed specifically for a particular brand or series of vacuums. Identifying these often requires consulting the vacuum's user manual or the manufacturer's parts diagrams, as generic replacements may not exist or fit correctly. Recognizing the specific belt type is foundational; it narrows down your search considerably before you even begin to measure or look up specific part numbers.
The Essential Criteria for Sizing Your Replacement Vacuum Belt
Accurately determining the correct size and type of replacement belt is fundamental to restoring your vacuum's performance and preventing damage. While a visual inspection of a broken belt might seem sufficient, several precise criteria ensure compatibility and optimal function. Relying on these methods helps DIY owners avoid common pitfalls associated with incorrect belt selection.
The most reliable approach to identifying the right belt involves consulting your vacuum's specific model information. This method minimizes guesswork and accounts for subtle variations between models that might not be apparent from a simple visual comparison.
- Vacuum Model Number: This is often the most direct and reliable method for finding compatible parts. Manufacturers design belts to specific tolerances for each model.
- Locate the model number on a sticker or plate, typically found on the back, bottom, or side of your vacuum cleaner.
- Use this number when searching for replacement belts, as it ensures you are matching the part to the exact specifications of your appliance. Research consistently indicates that using the vacuum's model number is crucial for accurate part identification.
- Original Part Number: If available, the part number printed directly on the old belt or listed in your vacuum's user manual provides an immediate match.
- Inspect the worn or broken belt carefully for any legible numbers or codes.
- Refer to your vacuum's user manual, which often includes a parts diagram and corresponding part numbers for consumables like belts.
- Measuring the Old Belt (with caveats): If the model or part number is unavailable, measuring the existing belt can serve as a guide, but this method requires careful consideration.
- Length/Circumference: If the belt is intact, carefully measure its circumference. If it's broken, lay it flat and measure its full length.
- Width: Measure the width of the belt to ensure it fits correctly into the brushroll and motor pulleys. Belts are typically flat, round, or V-shaped, and the width is critical for proper seating.
- Thickness: While less common, some belts have specific thickness requirements that affect tension and fit.
- Consideration for Stretch: A critical factor when measuring a used belt is its potential for stretching. Over time, rubber and synthetic belts can elongate due to heat and tension. A used belt's measurement might be significantly longer than the required size for a new, unstretched belt. Therefore, if relying on measurement, aim for a new belt that is slightly shorter than your stretched old one, or use the measurement as a cross-reference rather than a sole determinant.
- User Manual Specifications: Always consult your vacuum's user manual for detailed specifications. This document often contains not only part numbers but also diagrams and instructions that can clarify the correct belt type and size. Many manufacturers provide digital versions of manuals on their websites if the physical copy is lost.
Avoiding Common Pitfalls When Choosing a Replacement Belt
Selecting a vacuum cleaner belt might seem straightforward, but many DIY owners encounter issues that lead to frustration and repeated purchases. Understanding these common mistakes can help you navigate the replacement process more effectively, ensuring your vacuum operates at its best and preventing unnecessary wear on new parts.
- Relying on Visual Estimation for Size: One of the most frequent errors is attempting to match a new belt by simply looking at the old one, especially if it's stretched or broken. Even slight discrepancies in length or width can significantly impact performance. An "incorrectly sized belt that is too tight" can break immediately or put undue strain on the motor and brushroll, while a loose belt won't effectively transfer power, leading to poor cleaning. Always prioritize your vacuum's model number or the old belt's part number for precise sizing.
- Overlooking Brushroll Condition: A new belt can fail prematurely if underlying issues are ignored. As evidence suggests, "a new belt breaks immediately" often due to "a seized or obstructed brushroll bearing" or "excessive debris wrap." Before installing any new belt, always inspect the brushroll thoroughly. Clear any tangled hair, string, or debris, and ensure the brushroll spins freely by hand. Addressing these obstructions first can prevent immediate breakage of your new belt.
- Underestimating Material Quality: While less obvious than size, the material composition of a vacuum belt affects its durability and performance. Belts made from lower-quality materials may stretch out faster, crack, or lose their elasticity more quickly, requiring more frequent replacements. Consider the material's reputation for resilience and heat resistance, as a belt under constant friction generates heat.
- Generic vs. OEM Trade-offs: When choosing between Original Equipment Manufacturer (OEM) belts and generic alternatives, consider the balance of cost, availability, and precise fit. OEM belts are designed to exact specifications for your vacuum model, offering guaranteed compatibility. Generic belts can be a more affordable and readily available option, but their dimensions or material properties might vary slightly. While many generic belts perform adequately, some may not offer the same longevity or precise fit, potentially leading to earlier failure or reduced efficiency. Evaluate the source and reviews for generic options to gauge their reliability.
A Step-by-Step Guide to Identifying Your Vacuum's Belt
Accurately identifying the correct replacement belt for your vacuum cleaner is a critical step to ensure optimal performance and avoid compatibility issues. This process empowers you to confidently select the right part, preventing potential damage from an ill-fitting belt. Follow these sequential steps to pinpoint the exact belt your vacuum requires.
-
Step 1: Locate Your Vacuum's Model Number The model number is your most reliable starting point for finding compatible parts. This alphanumeric code uniquely identifies your specific vacuum cleaner.
- Where to look: Check for a sticker or label on the underside, back, or side of the vacuum. For uprights, it's often near the brushroll housing or on the main body. Canister vacuums might have it on the bottom or back.
- Consult the manual: If a physical label is missing or illegible, your user manual is an excellent resource for the model number.
- Why it's crucial: Many manufacturers produce multiple vacuum models that appear similar but use different belt sizes or types. The model number eliminates guesswork.
-
Step 2: Consult the User Manual or Manufacturer's Website Once you have your vacuum's model number, these sources are the definitive authority for part numbers.
- User Manual: The manual often includes a parts list or a diagram indicating the specific belt part number.
- Manufacturer's Website: Navigate to the support or parts section of your vacuum cleaner's brand website. Enter your model number into their search tool to find diagrams, compatible parts, and the official part number for the drive belt. This is often the best source for precise information.
-
Step 3: Inspect the Old Belt (if available) If you still have the old belt, inspecting it can provide valuable physical characteristics, especially if other information is scarce.
- Safety First: Always unplug your vacuum cleaner before attempting to access or remove any internal components.
- Removal: Carefully remove the brushroll cover and then the brushroll itself to access the belt. Note how it is routed.
- Measurement (if intact): Lay the belt flat and measure its length and width. If it's broken, you can try to piece it together to get an approximate length, or use a piece of string to measure the path it followed around the motor shaft and brushroll.
- Visual Cues: Look for any part numbers printed directly on the belt itself, though this is less common.
-
Step 4: Note the Belt Type Vacuum cleaner belts typically come in a few distinct types, which are not interchangeable.
- Flat Belts: These are common, thin, and flat, often used in older or simpler upright vacuum designs.
- V-Belts: Shaped like a "V" in cross-section, these offer better grip and are found in many modern uprights.
- Cogged (or Toothed) Belts: These belts have teeth that engage with corresponding cogs on the motor and brushroll, providing precise, slip-free power transfer. They are frequently used in high-performance or specialized vacuum models.
-
Step 5: Double-Check Compatibility Before making a purchase, cross-reference all the information you've gathered.
- Match Part Numbers: Prioritize matching the manufacturer's official part number found in your manual or on their website.
- Verify Dimensions: If a specific part number isn't available, or if you're considering a generic alternative, ensure the length, width, and belt type (flat, V, or cogged) precisely match your old belt's measurements and type.
- Model Number Confirmation: Always confirm that the replacement belt is listed as compatible with your exact vacuum cleaner model number. Purchasing a belt based solely on visual similarity or general brand can lead to an incorrect fit, resulting in immediate failure or reduced cleaning effectiveness.
Frequently Asked Questions About Vacuum Belts
Navigating vacuum belt replacement often leads to specific questions about maintenance, compatibility, and troubleshooting. Understanding these common concerns can help DIY owners make informed decisions and avoid potential pitfalls.
-
How often should I replace my vacuum belt? While replacement frequency can vary based on vacuum usage, a general guideline suggests checking your belt every 6 to 9 months, with replacement typically needed every 1 to 2 years. High-traffic homes or frequent use on thick carpets may necessitate more frequent inspection and replacement. Regular checks for visible wear are more reliable than a strict schedule.
-
What are the signs of a worn or broken vacuum belt? Several indicators point to a failing vacuum belt:
- Brushroll Inactivity: The most obvious sign is a brushroll that stops spinning or spins intermittently.
- Reduced Suction: If your vacuum struggles to pick up debris, even after emptying the canister and checking for clogs, a slipping belt might be the cause, as it prevents the brushroll from agitating effectively.
- Visible Damage: Inspect the belt for cracks, fraying, stretching, or a shiny, glazed appearance, which indicates wear.
- Burning Smell: A distinct burning rubber odor during operation often signifies a belt that is slipping excessively or overheating due to friction.
-
Can I use a generic belt instead of an OEM one? Yes, generic belts can be a viable alternative to Original Equipment Manufacturer (OEM) parts, provided they precisely match the specifications of your vacuum's original belt. The critical factor is ensuring the generic belt has the identical length, width, thickness, and profile (e.g., flat, V-belt, cogged) required for your specific model. An incorrectly sized generic belt, even if it appears similar, can lead to immediate breakage, reduced performance, or strain on your vacuum's motor and brushroll bearings.
-
What if my new belt breaks immediately after installation? If a newly installed belt breaks almost immediately, it typically points to an underlying mechanical issue or an incorrect belt specification. Common causes include:
- Seized Brushroll: The brushroll bearings might be obstructed by hair or debris, preventing it from spinning freely. A new belt will snap under the strain of trying to move a stuck brushroll.
- Incorrect Belt Size: The replacement belt may be too tight for your vacuum model, creating excessive tension that leads to instant breakage.
- Improper Installation: Ensure the belt is correctly seated on both the motor shaft and the brushroll drive, without twists or misalignments.
- Debris Wrap: Residual hair or string wrapped around the brushroll or motor shaft can create resistance, causing the new belt to fail.
-
Where can I find my vacuum's model number? Locating your vacuum's model number is crucial for identifying the correct replacement belt. This number is typically found on a label or sticker somewhere on the vacuum cleaner itself. Common locations include:
- The bottom or back of the main vacuum body.
- Underneath the dustbin or dirt cup.
- On the side of the powerhead or nozzle.
- Inside the battery compartment for cordless models. Once located, this model number allows you to cross-reference with manufacturer specifications or parts guides to ensure you purchase the exact belt type and size.
Making the Confident Choice for a Perfect Fit
Successfully replacing a vacuum cleaner belt hinges entirely on precise sizing and correct type identification. As a DIY owner, understanding that a vacuum belt is not a generic, interchangeable component is the most critical step toward restoring your appliance's full functionality. An incorrect belt, whether too tight or too loose, can lead to immediate failure, damage to your vacuum's motor or brushroll, or simply ineffective cleaning.
To confidently navigate this decision, your vacuum's model number remains the most reliable guide. This unique identifier allows you to bypass guesswork and access manufacturer-specific information, ensuring you procure a belt designed for your machine's exact specifications. Relying on visual comparisons or general measurements alone introduces unnecessary risk of incompatibility.
By investing a moment to correctly identify your vacuum's needs, you secure several key benefits:
- Restored Performance: A properly fitted belt ensures the brushroll spins at its optimal speed, effectively agitating carpets and lifting debris, returning your vacuum to peak cleaning power.
- Extended Vacuum Life: Eliminating the strain of an ill-fitting belt protects critical components like the motor and brushroll bearings from premature wear, contributing to the longevity of your appliance.
- Avoided Frustration: Sidestepping the common pitfalls of incorrect purchases saves you time, effort, and the inconvenience of repeated replacements or returns.
With the knowledge gained, you are now empowered to confidently identify the specific type and size of vacuum cleaner belt required for your model, ensuring a successful purchase and the full restoration of your vacuum's cleaning capabilities.

More in Vacuum Cleaner Belts
View All