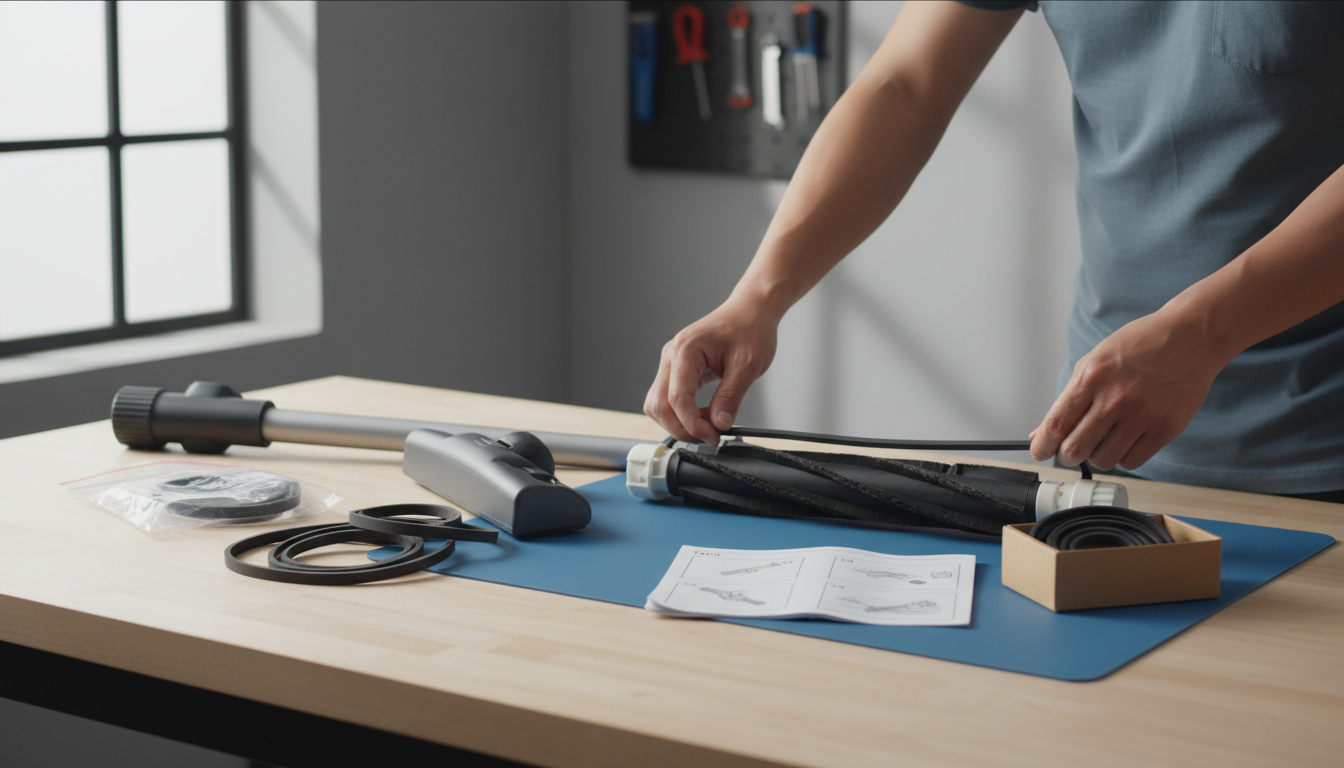
Hoover Vacuum Cleaner Belts: Maintaining Suction and Brushroll Function
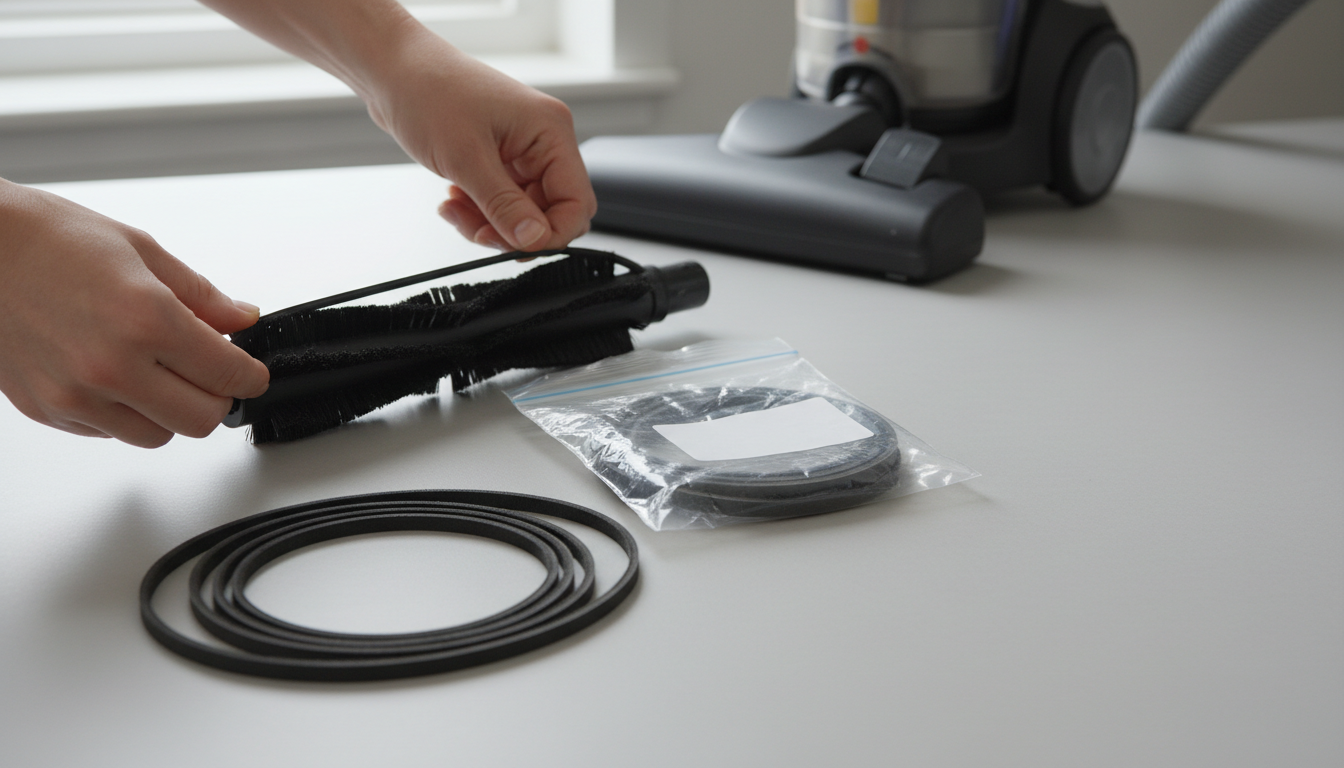
Restore Your Hoover's Power: The Essential Guide to Vacuum Cleaner Belts
When your Hoover vacuum cleaner begins to underperform, exhibiting reduced suction or a brushroll that no longer spins, a common and often overlooked culprit is the vacuum belt. This small, yet critical, component acts as the mechanical link, transferring power from the motor to the brushroll. A functional belt is indispensable for your Hoover to effectively agitate carpets, lift embedded dirt, and maintain optimal cleaning efficiency.
The signs of a worn or broken belt are typically clear indicators that your vacuum's performance is compromised. You might notice:
- Loss of Brushroll Function: The brushroll stops spinning entirely, or spins weakly, leaving dirt behind.
- Reduced Suction: While the motor may sound normal, the vacuum struggles to pick up debris, as the brushroll isn't doing its part.
- Burning Smell: A distinct odor of burning rubber can indicate a belt that is slipping, overheating, or has snapped and is rubbing against other components.
Addressing these issues promptly is key to restoring your Hoover's cleaning capabilities. This guide will empower you to accurately identify the specific belt required for your Hoover model, understand common failure points, and confidently select the correct replacement to ensure your vacuum operates at its best.
Why Your Hoover Needs the Right Belt: Understanding Function and Common Failures
The vacuum cleaner belt is a critical component in many Hoover models, acting as the primary link between the motor and the brushroll. Its fundamental role is to transfer rotational power, ensuring the brushroll spins effectively to agitate carpet fibers and sweep debris into the suction path. Without a properly functioning belt, even a powerful motor cannot deliver optimal cleaning performance.
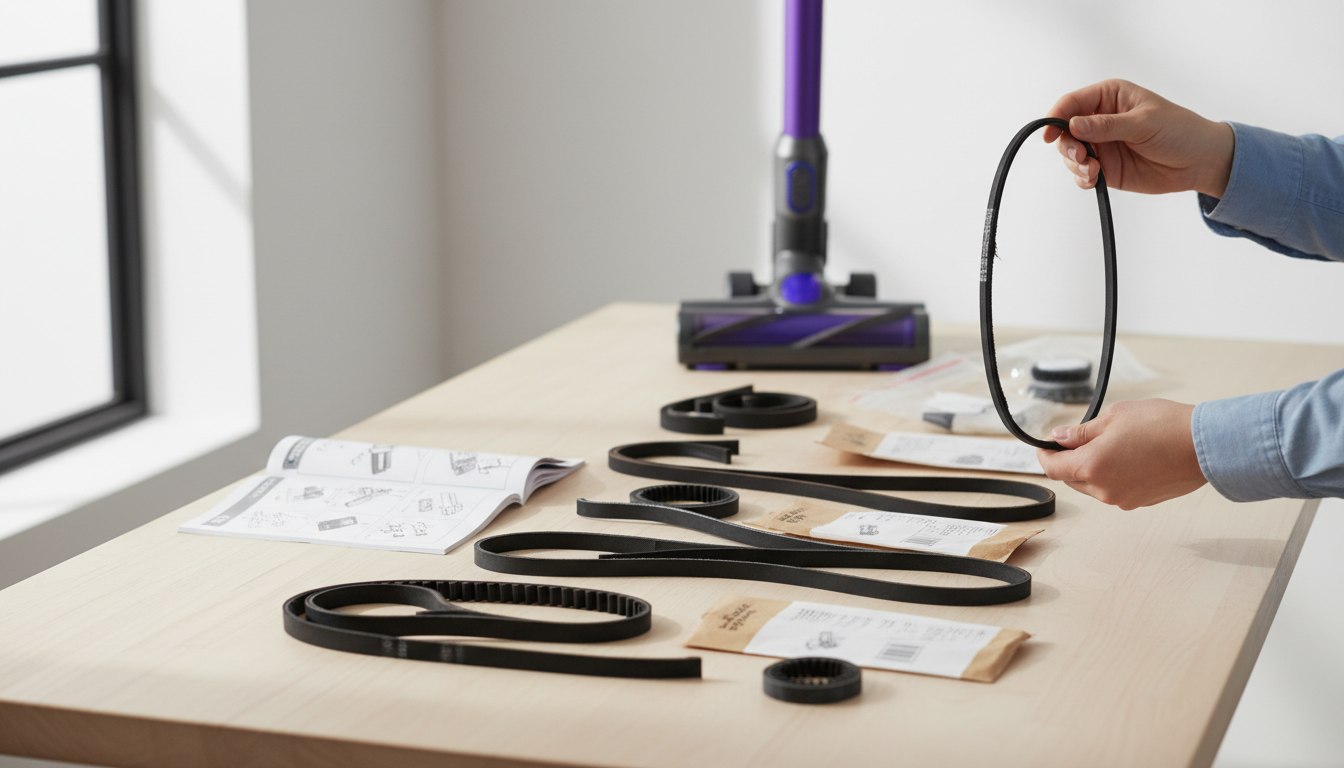
Hoover vacuums utilize various belt types, each designed for specific mechanisms and models. Owners may encounter:
- Flat belts: Common in many upright vacuums, these typically wrap around the motor shaft and the brushroll.
- Round belts: Less common in modern uprights but found in some designs, often for smaller accessory drives.
- Geared belts: These have teeth that engage with corresponding gears on the motor and brushroll, preventing slippage and ensuring precise rotation.
- Stretch belts vs. Non-stretch belts: Stretch belts rely on their elasticity to maintain tension, while non-stretch belts (often geared) require precise sizing. Using the wrong type can lead to premature wear or incorrect brushroll speed.
Over time, several factors contribute to belt failure, diminishing your Hoover's effectiveness. Age is a primary culprit; belts naturally degrade, stretch, or become brittle, losing their ability to maintain tension. Entanglement with foreign objects like strings, hair, or carpet fibers can cause excessive friction, leading to burning and breakage, as observed in cases where yarn has wrapped around the beater bar. Motor strain, often resulting from a clogged brushroll or attempting to vacuum thick debris, can also put undue stress on the belt, causing it to snap. Issues with the brushroll itself, such as seized bearings or excessive resistance, can similarly overwork the belt.
The consequences of a faulty belt are immediately noticeable in cleaning performance. A stretched belt will slip, resulting in reduced brushroll agitation and ineffective debris pickup, particularly on carpets. A broken belt means the brushroll won't spin at all, turning your upright vacuum into a suction-only device, incapable of lifting embedded dirt. Addressing belt issues promptly is essential for restoring your Hoover vacuum's full cleaning capability.
Finding the Perfect Fit: A Guide to Hoover Vacuum Belt Compatibility
Selecting the correct replacement belt is crucial for restoring your Hoover vacuum's performance. An accurately matched belt ensures the brushroll spins at the right speed and tension, directly impacting cleaning effectiveness and the longevity of your appliance. Identifying the specific belt your model requires is a straightforward process that prevents common issues like reduced suction or premature belt failure.
To confidently identify the correct belt, begin by locating your Hoover vacuum's model number. This essential identifier is typically found on a sticker or plate on the back or bottom of the vacuum, sometimes hidden under the dirt cup or on the handle assembly. Once you have this number, you can proceed to find the corresponding belt part number.
- Check the existing belt: If the old belt is still intact, inspect it for a printed part number or "style" number. This is often the most direct way to identify the replacement.
- Consult your user manual: The vacuum's original manual will list compatible replacement parts, including the belt part number, usually in an accessories or parts section.
- Manufacturer's website: Navigate to Hoover's official support site. Using your model number, you can often find a parts diagram or a list of compatible accessories, including the specific belt.
When choosing a replacement, you'll encounter two main categories: OEM (Original Equipment Manufacturer) and aftermarket belts.
- OEM Belts: These are produced by Hoover or a designated partner, designed to meet the exact specifications of your vacuum model. They typically offer guaranteed fit, material quality, and tension, which can contribute to optimal performance and durability. The primary trade-off is often a higher cost.
- Aftermarket Belts: Manufactured by third-party companies, these belts aim to be compatible with various Hoover models. While they can be a more budget-friendly option and widely available, their quality can vary. Potential trade-offs include inconsistent material composition, imprecise fit, or less robust construction, which may lead to reduced performance or more frequent replacement.
Using an incorrect belt can lead to several problems, compromising your vacuum's functionality and potentially causing damage. A belt that is too loose will slip, causing the brushroll to spin slowly or not at all, leading to poor debris agitation and reduced cleaning. Conversely, a belt that is too tight can strain the motor, causing it to overheat or prematurely wear out motor bearings. Incorrect materials or dimensions can also result in frequent belt breakage, turning a simple replacement into a recurring frustration.
Step-by-Step: How to Replace Your Hoover Vacuum Belt
Replacing a worn or broken belt in your Hoover vacuum can restore brushroll function and improve suction. While specific steps can vary by model, the general process involves accessing the brushroll area, removing the old belt, and installing a new one.
-
Prioritize Safety First Before beginning any maintenance, always unplug your Hoover vacuum cleaner from the electrical outlet. This prevents accidental activation and reduces the risk of electrical shock or injury.
-
Access the Brushroll and Belt Area
- Prepare the Vacuum: Lay your Hoover vacuum flat on its front, typically on a clean, soft surface to avoid scratching.
- Remove the Base Plate/Cover: Locate the screws or clips that secure the brushroll access plate or base cover on the underside of the vacuum head. Use the appropriate screwdriver (often Phillips head) to remove these fasteners. Carefully lift off the plate to expose the brushroll and belt.
-
Remove the Old Belt
- Lift the Brushroll: Gently lift the brushroll out of its housing. The old belt, if still intact, will likely be looped around the brushroll and a motor shaft or pulley.
- Detach the Belt: If the belt is broken, remove all remaining pieces. If it's stretched or worn but still in one piece, carefully roll it off the motor pulley first, then off the brushroll. Note how the belt was positioned for correct reinstallation.
-
Install the New Belt
- Position the New Belt: Loop the new belt around the motor pulley or shaft. This is often the tighter fit, so doing it first can make the next step easier.
- Stretch onto Brushroll: While holding the belt on the motor pulley, align the brushroll into its housing. Carefully stretch the new belt over one end of the brushroll, ensuring it sits securely in the designated groove.
- Seat the Brushroll: Once the belt is around both the motor pulley and the brushroll, ensure the brushroll's end caps are properly seated back into their respective slots in the vacuum head. The belt should have a snug, but not overly tight, tension.
-
Post-Replacement Checks
- Reassemble: Replace the base plate or brushroll cover, ensuring all screws or clips are securely fastened.
- Initial Power Test: Plug the vacuum back in. Briefly turn it on to confirm the brushroll spins freely and quietly. Listen for any unusual noises or vibrations, which could indicate improper belt installation or brushroll seating. If issues arise, unplug immediately and re-check your work.
-
Consult Model-Specific Guidance While these steps offer a general overview, Hoover produces various models, each with potential nuances in design. For the most precise instructions, refer to your specific Hoover vacuum cleaner's owner's manual or search for instructional videos online using your vacuum's model number.
Extending Your Belt's Life: Maintenance Tips and Prevention
Proactive care for your Hoover vacuum's belt can significantly prolong its lifespan and maintain consistent cleaning performance. Understanding common stressors and recognizing early warning signs allows owners to prevent premature belt failure, which often manifests as reduced suction or a non-spinning brushroll.
- Clean the Brushroll Regularly: Hair, carpet fibers, and other debris can tightly wrap around the brushroll. This tangling creates resistance, forcing the belt to work harder, generating excessive heat, and causing it to stretch or snap prematurely. A clean brushroll spins freely, reducing strain on the belt.
- Avoid Large or Sharp Objects: Vacuuming items like coins, paper clips, or small toys can jam the brushroll, causing the belt to slip, fray, or even break instantly due to the sudden, immense strain. Always inspect the area before vacuuming to remove such hazards.
- Inspect for Brushroll Obstructions: Beyond visible tangles, internal obstructions can impede brushroll rotation. If the vacuum sounds strained or the brushroll stops, immediately check for hidden debris or damage within the brushroll assembly. Continued operation with an obstructed brushroll will quickly degrade the belt.
- Identify Signs of Wear: Before a complete break, a belt often shows signs of deterioration. Look for visible cracks, stretching, or thinning. A burning rubber smell during operation is a strong indicator of a slipping or overheating belt. Reduced brushroll speed or inconsistent agitation, even when the motor sounds normal, also suggests a worn belt. Addressing these signs early can prevent more significant performance issues.
- Consider Proactive Replacement: While a belt might not show obvious signs of failure, its elasticity and strength diminish over time with regular use. Replacing the belt every 1 to 3 years, depending on usage frequency and vacuum model, can prevent unexpected breakdowns and ensure the vacuum consistently delivers optimal brushroll agitation for effective cleaning. This preventative measure helps maintain peak performance rather than waiting for a complete loss of function.
Essential Checks: What to Know Before Buying a Hoover Vacuum Belt
Before purchasing a replacement belt for your Hoover vacuum, a few critical checks can ensure you select the correct part and avoid common pitfalls. Taking a moment to verify these details will help restore your vacuum's optimal suction and brushroll function efficiently.
- Confirm Your Hoover Model and Belt Part Number: Locate the exact model number on your Hoover vacuum, typically found on a label on the back, bottom, or side. Cross-reference this with the existing belt's part number, if visible, or consult your vacuum's manual. This is the most reliable way to ensure compatibility.
- Identify the Belt Type and Material: Hoover vacuums use various belt types, including flat, round, geared, or stretch belts. Your specific model dictates the required type. While most are rubber, some may use synthetic compounds designed for durability. Confirming the type ensures proper power transfer to the brushroll.
- Review the Seller's Return Policy for Vacuum Parts: Given the precise compatibility requirements for vacuum belts, understanding the return policy is crucial. This protects you in case of an incorrect order or a part that doesn't fit your specific Hoover model.
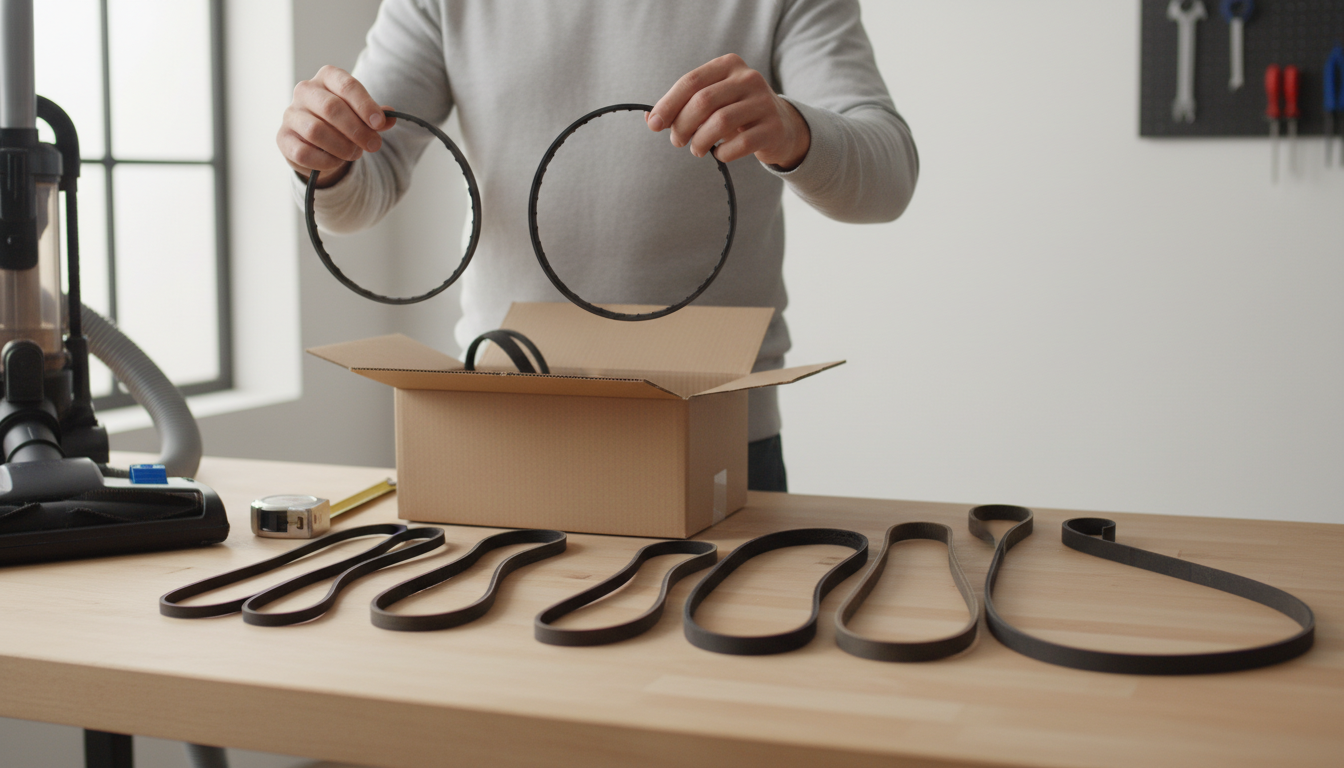
- Assess the Value of a Multi-Pack Purchase: If your Hoover model is known for frequent belt wear or if you use your vacuum regularly, purchasing a multi-pack of belts might be more cost-effective in the long run. This can save you time and money on future replacements.
- Verify Compatibility with Your Specific Hoover Model Series: Beyond just the model number, some belts are designed for an entire series of Hoover vacuums. Double-check that the replacement belt is explicitly listed as compatible with your vacuum's series to prevent fit issues.
Frequently Asked Questions About Hoover Vacuum Belts
Understanding the nuances of Hoover vacuum cleaner belts can help maintain your appliance's performance and extend its lifespan. Here are answers to common questions that arise when selecting, maintaining, or replacing these essential components.
-
How often should I replace my Hoover vacuum belt? It is generally recommended to replace your Hoover vacuum belt every 1 to 3 years, even if it appears intact. Over time, belts can stretch, harden, or become brittle, reducing their effectiveness in transferring power to the brushroll. Beyond this timeframe, signs like reduced brushroll rotation, decreased suction, or a burning rubber smell are indicators that immediate replacement is necessary.
-
Why does my Hoover vacuum belt keep breaking? Frequent belt breakage often points to an underlying issue beyond simple wear. Common causes include:
- Brushroll Obstructions: Hair, string, or debris wrapped around the brushroll can cause it to seize, leading the belt to snap under strain.
- Worn Brushroll Bearings: If the brushroll itself is difficult to turn by hand, its bearings may be worn, creating excessive friction that overstresses the belt.
- Incorrect Belt Type: Using a belt that is too tight, too loose, or made from an incompatible material can lead to premature failure.
- Motor Issues: In rare cases, a motor problem could cause inconsistent power delivery, stressing the belt.
-
What's the difference between OEM and aftermarket Hoover belts? OEM (Original Equipment Manufacturer) Hoover belts are produced by Hoover or a supplier authorized by them. These belts are designed to meet the exact specifications, materials, and tolerances for specific Hoover models, ensuring optimal fit and performance. Aftermarket belts are manufactured by third-party companies. While often more affordable, their quality, material composition, and precise fit can vary, potentially affecting durability and vacuum performance.
-
What should I do if I received the wrong belt for my Hoover vacuum? If you receive a belt that doesn't fit your Hoover vacuum, first verify your vacuum's exact model number, typically found on a sticker on the back or bottom of the unit. Then, cross-reference this with the part number on the belt packaging. Contact the seller immediately to arrange an exchange or return, providing them with your vacuum's model number and the incorrect part number received.
-
When is it better to take my Hoover vacuum to a professional for belt replacement? While many belt replacements are straightforward, consider professional service if:
- You are uncomfortable with disassembling parts of your vacuum.
- The belt replacement process requires specialized tools you don't possess.
- You suspect deeper mechanical issues, such as a damaged brushroll assembly or motor problems, that require expert diagnosis.
- Despite replacing the belt, the vacuum's performance issues persist.
-
Can I use any vacuum belt for my Hoover? No, you cannot use just any vacuum belt for your Hoover. Hoover vacuums are designed with specific belt types, lengths, and widths tailored to their particular model and motor configuration. Using an incorrect belt can lead to poor brushroll performance, excessive wear on vacuum components, or even damage to the motor. Always consult your vacuum's manual or the manufacturer's parts list to identify the precise belt number for your model.
-
Are multi-packs of Hoover belts a good idea? Multi-packs of Hoover belts can be a practical option, especially if you own a popular model with readily available parts or if your vacuum tends to break belts frequently due to heavy use. They often offer cost savings per belt and ensure you have a spare on hand. However, consider that belts can degrade over extended periods, even when unused, if stored in extreme temperatures or humidity. Ensure the multi-pack contains the exact belt type required for your specific Hoover model.
Maintaining Peak Performance: The Long-Term Value of the Right Hoover Belt
The often-overlooked vacuum belt plays a fundamental role in your Hoover's ability to clean effectively. Choosing the precise, model-specific belt, as outlined in previous sections, directly translates into sustained suction power and consistent brushroll rotation. This accuracy in selection prevents undue strain on the motor, ensures efficient debris agitation, and ultimately contributes to the longevity and overall efficiency of your appliance. It's a small component with a significant impact on your vacuum's core functionality.
To safeguard this performance, proactive maintenance and timely replacement are essential. Regularly inspecting your Hoover's belt for signs of wear, stretching, or damage, and replacing it every 1-3 years or as soon as issues arise, is a simple yet powerful step. This vigilance prevents common problems like reduced cleaning effectiveness, brushroll stalling, or even motor damage, ensuring your vacuum operates at its intended capacity.
Ultimately, a well-maintained Hoover vacuum, supported by the correct and regularly replaced belt, represents a valuable investment. By understanding the importance of belt compatibility and embracing proactive care, you empower your appliance to deliver reliable, high-performance cleaning for years to come, preserving its utility and extending its lifespan.
More in Vacuum Cleaner Belts
View All