Eureka Vacuum Cleaner Belts: Ensuring Peak Performance for Your Model
The Unsung Hero: Why Your Eureka Vacuum's Belt Matters
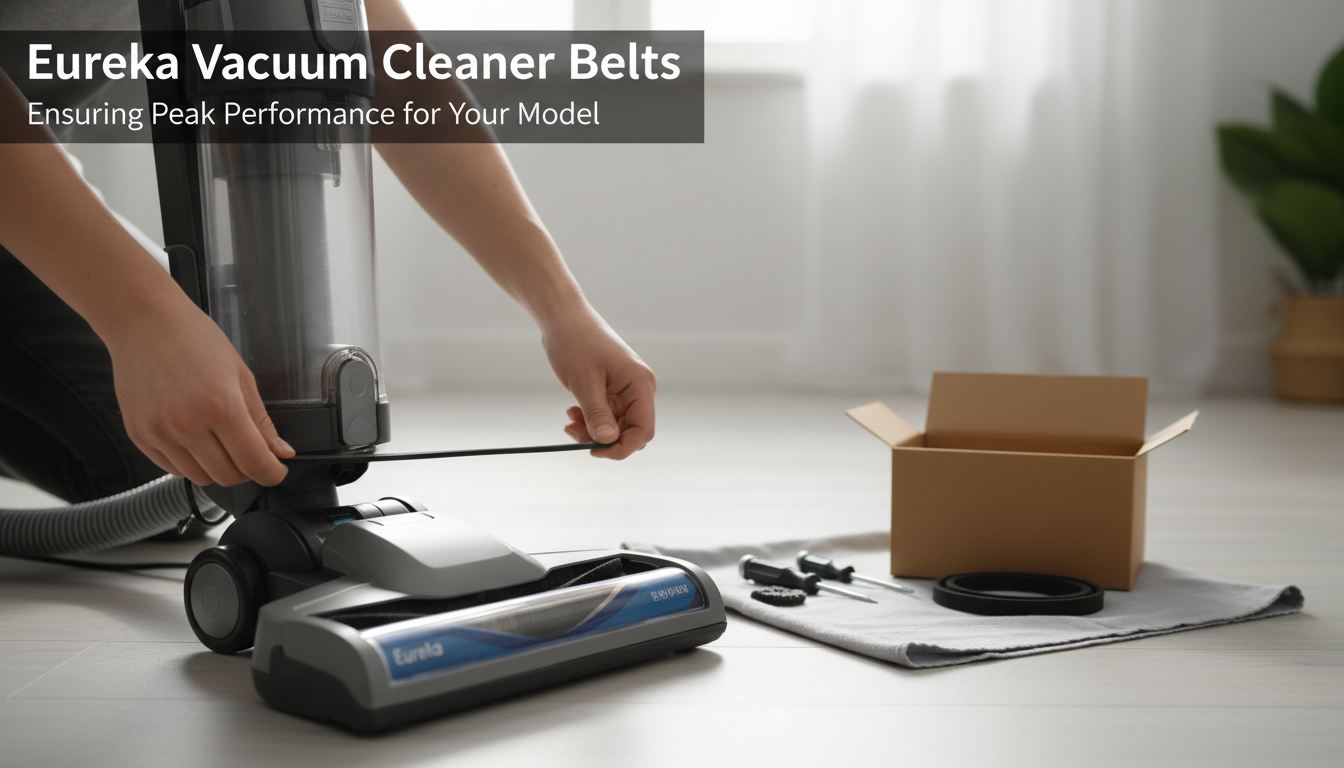
Within your Eureka vacuum cleaner, a simple yet critical component, the drive belt, serves as the essential link between the motor and the brush roll. This small rubber loop is responsible for transferring power, enabling the brush roll to spin rapidly and agitate carpet fibers, dislodging embedded dirt and debris for effective cleaning. Without a functional belt, your Eureka vacuum cannot perform its primary task of deep cleaning.
When a vacuum belt wears out, stretches, or breaks, the impact on your Eureka's cleaning performance is immediate and noticeable. A compromised belt prevents the brush roll from rotating at its intended speed, or from rotating at all, significantly hindering its ability to pick up dirt.
- Ineffective Agitation: The brush roll will not spin, or will spin too slowly, failing to lift dirt from carpets.
- Reduced Suction Perception: While motor suction might be unaffected, the lack of brush agitation means less debris is loosened and available for collection.
- Potential Motor Strain: A slipping or broken belt can sometimes cause the motor to work harder without achieving the desired cleaning outcome, potentially leading to other issues.
This guide aims to empower Eureka vacuum owners to confidently identify, purchase, and correctly install the appropriate replacement belt for their specific model, ensuring their vacuum operates at peak efficiency and maintains its cleaning power.
Understanding Your Eureka Vacuum Belt's Role in Performance
The belt within your Eureka vacuum cleaner is a critical component, directly responsible for transmitting power from the motor to the brush roll. This seemingly simple band of material ensures the brush roll spins at the necessary speed to agitate carpet fibers, dislodge embedded dirt, and effectively sweep debris into the vacuum's suction path. Without a properly functioning belt, even a powerful motor and strong suction cannot deliver optimal cleaning performance, particularly on carpeted surfaces where agitation is key for deep cleaning.
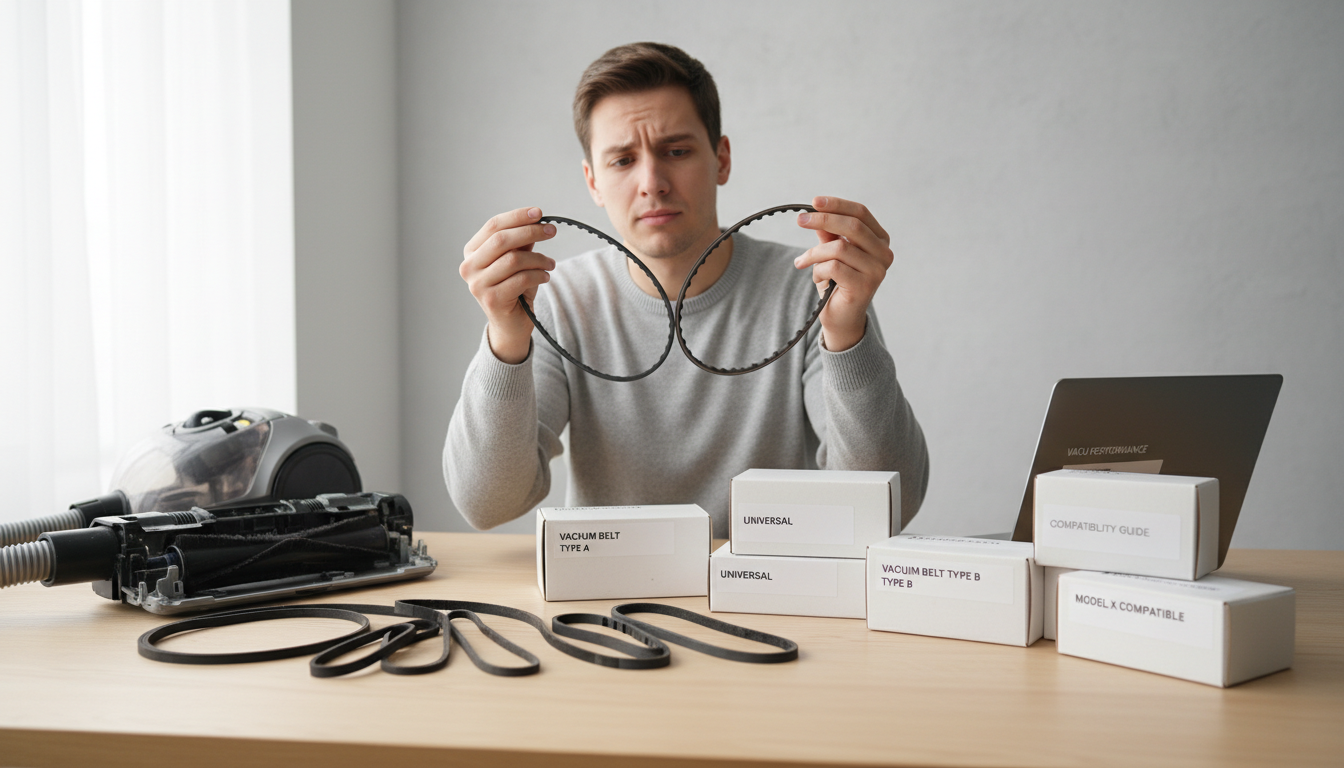
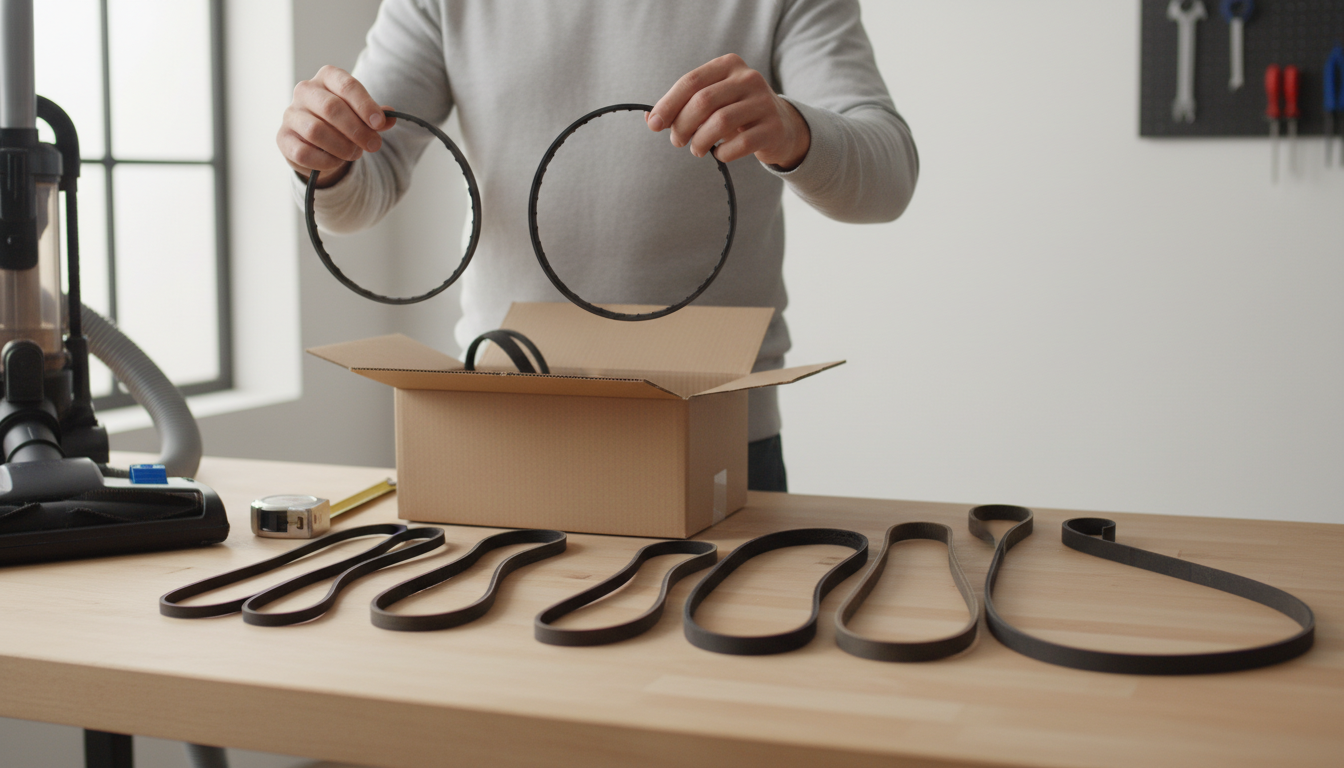
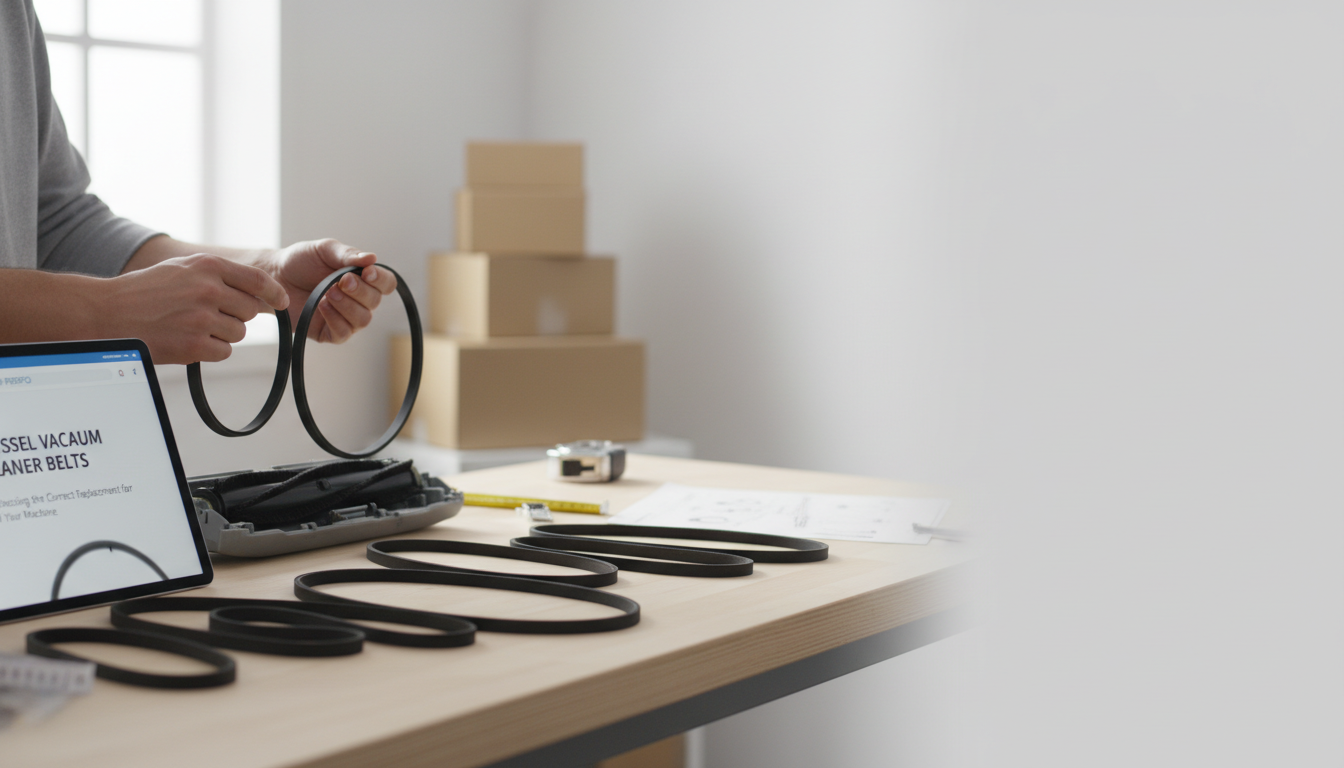
Eureka vacuums, like many brands, utilize different belt designs tailored to specific models and their intended functions. Identifying the correct type for your vacuum is essential for proper fit and operation.
- Flat Belts: Commonly found in many upright Eureka models, these belts are wide and flat, designed for robust power transfer to a horizontal brush roll.
- Round Belts: Some older Eureka models, or specific canister and handheld units, may employ round belts, which typically offer a more flexible connection.
- Cogged Belts: Certain Eureka models, particularly those requiring precise timing or higher torque, might use cogged (toothed) belts. These belts engage with gears on the motor and brush roll, preventing slippage and ensuring consistent rotation.
Recognizing the signs of a failing belt is crucial for maintaining your vacuum's efficiency and preventing further damage. Timely replacement can restore cleaning power and extend the life of your appliance.
- Loss of Brush Roll Rotation: The most obvious sign is when the brush roll stops spinning entirely, or spins intermittently, despite the vacuum motor running.
- Reduced Cleaning Effectiveness: If your vacuum is no longer picking up debris effectively, especially on carpets, a worn or stretched belt might be preventing the brush roll from doing its job.
- Burning Smell: A burning rubber smell often indicates a belt that is slipping excessively, overheating, or has broken and is rubbing against internal components.
- Visible Wear and Tear: Inspect the belt for cracks, fraying, stretching, or a brittle texture. A belt that looks shiny or glazed may also be slipping.
- Increased Motor Noise Without Suction: If the motor sounds like it's working harder but there's no corresponding increase in cleaning action, the belt might be detached or severely stretched.
Finding the Perfect Fit: A Checklist for Eureka Vacuum Belts
Selecting the correct replacement belt is fundamental to maintaining your Eureka vacuum's performance. An ill-fitting belt can lead to reduced brush roll effectiveness, motor strain, or premature failure. This checklist guides you through the essential steps to ensure you choose the right belt for your specific Eureka model.
- Locate Your Eureka Model Number: This is the most crucial step. Your vacuum's exact model number is the primary identifier for compatible parts. Look for a sticker or label, typically found on the back, bottom, or sometimes underneath the dust cup or powerhead assembly. Jot down the full alphanumeric sequence accurately.
- Identify Your Vacuum Type: Eureka manufactures various vacuum types, including uprights, canisters, stick vacuums, handhelds, and central vacuum systems. Each type often utilizes distinct belt designs and sizes. While your model number will confirm the specific belt, understanding the general type helps narrow down initial searches and ensures you're looking at the right category of belts.
- Match by Exact Model Number: Once you have your precise model number, use it to search for replacement belts. Even slight variations in a model number can indicate different internal components and, therefore, different belt requirements. Relying solely on a general series name (e.g., "Eureka PowerSpeed") without the full model number can lead to purchasing an incompatible belt.
- Consider Belt Type and Material Quality: You'll typically encounter two categories: Original Equipment Manufacturer (OEM) belts and compatible aftermarket alternatives. When evaluating either, prioritize:
- Precise Fit: The belt must match the dimensions and tension requirements of your vacuum's original belt. An overly tight belt can strain the motor, while a loose one won't effectively spin the brush roll.
- Material Durability: Belts are subject to continuous friction and tension. Look for materials known for their resilience and flexibility to ensure consistent performance and longevity, preventing premature stretching or breakage.
Step-by-Step: Replacing Your Eureka Vacuum Belt
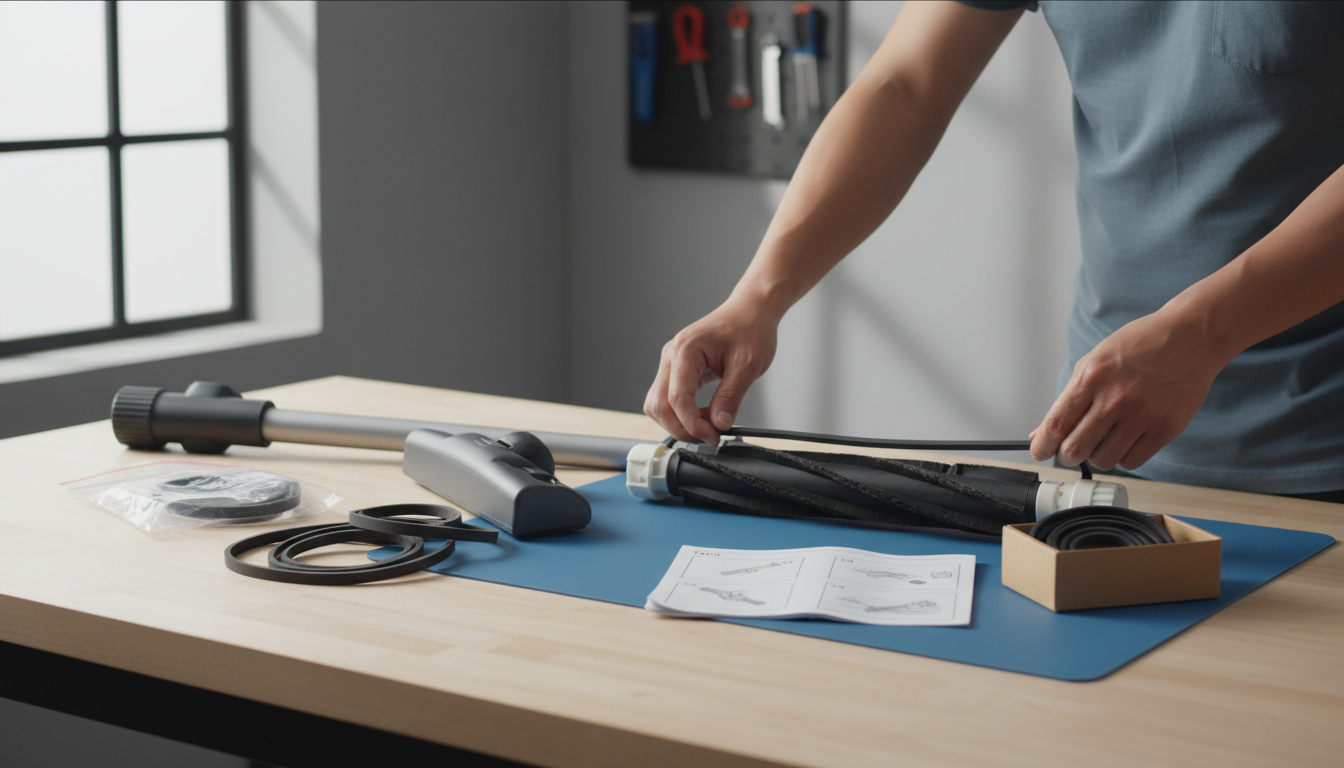
Replacing a worn or broken belt is a critical maintenance step for your Eureka vacuum, restoring its brush roll function and cleaning efficiency. This process is generally straightforward, but requires attention to safety and proper technique.
- Prioritize Safety First: Before attempting any repair or maintenance, always unplug your Eureka vacuum cleaner from the electrical outlet. This prevents accidental activation and reduces the risk of electrical shock or injury.
- Gather Your Materials: You will typically need a screwdriver (often Phillips-head, but check your model), and the correct replacement belt for your specific Eureka model. Having a clean cloth or paper towel nearby can also be useful.
- Access the Brush Roll:
- Lay your vacuum cleaner on its side or back on a flat, stable surface.
- Locate the bottom plate or brush roll cover, usually secured by several screws.
- Use your screwdriver to remove these screws and carefully lift off the plate.
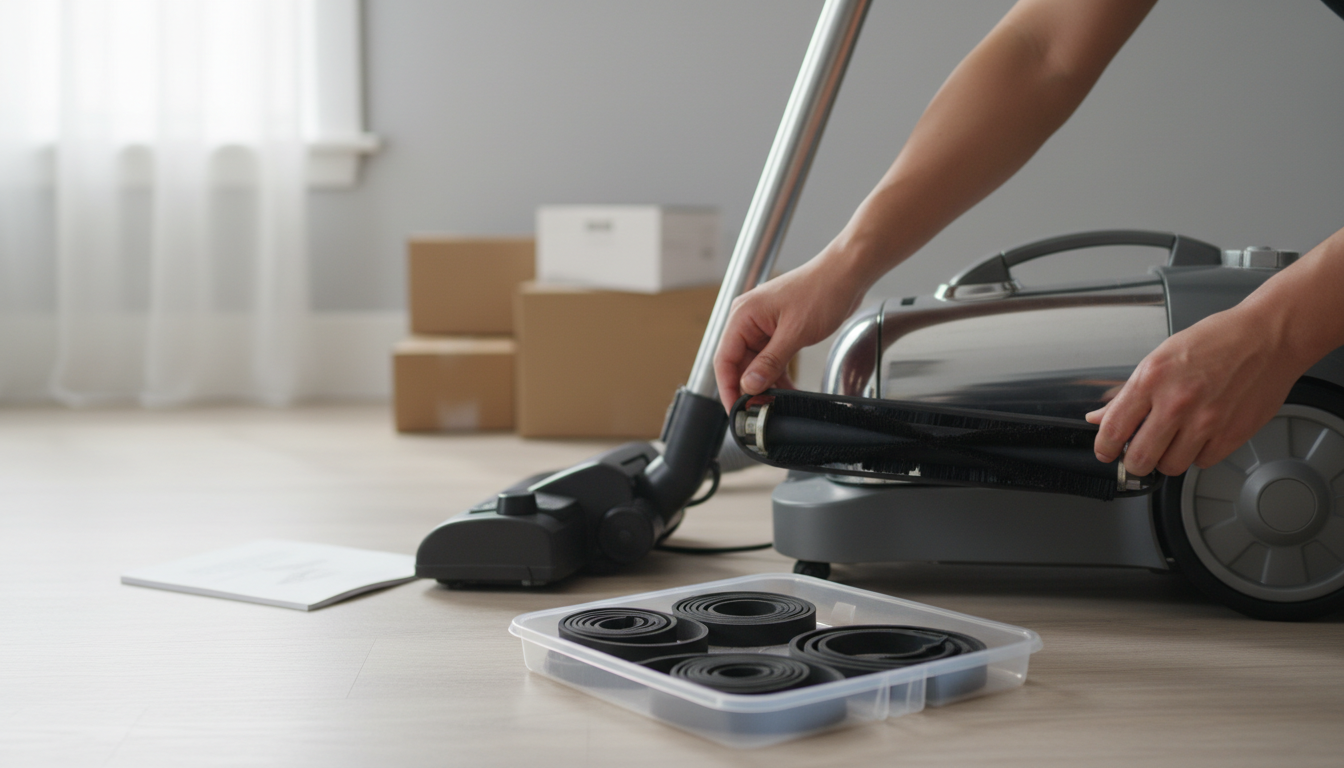
- The brush roll, a cylindrical brush, will now be visible, often held in place by end caps or clips. Remove any components necessary to free the brush roll.
- Remove the Old Belt:
- Once the brush roll is accessible, gently lift it out. The old belt, if still present, will likely be stretched, loose, or broken around the brush roll and the motor shaft.
- Remove the old belt completely, noting its path around the motor shaft and brush roll for reference.
- Install the New Belt:
- New belts are designed to be tight to ensure proper tension and grip. Loop the new belt around the motor shaft first.
- Carefully position the brush roll back into its housing. While holding the brush roll in place, stretch the new belt around the brush roll's designated groove. This may require some force.
- Ensure the belt is centered and not twisted. For visual guidance, consult your vacuum's user manual or search for model-specific replacement videos online.
- Reassemble and Test:
- Once the new belt is securely in place and aligned, reattach any end caps or clips that hold the brush roll.
- Replace the bottom plate or brush roll cover and secure it with all screws.
- Plug the vacuum back into the outlet. Turn it on and observe the brush roll. It should spin freely and consistently. Listen for any unusual noises.
- Perform a quick test on a carpeted surface to confirm the brush roll is engaging and cleaning effectively.
Common Eureka Belt Problems and Troubleshooting
Even with the correct replacement, Eureka vacuum cleaner belts can present unexpected challenges, ranging from installation difficulties to premature failure. Understanding these common issues and their underlying causes can help maintain your vacuum's performance and extend belt life.
A new belt might initially feel too tight to install, which is often by design. Manufacturers engineer new belts to be snug to ensure optimal tension and prevent slippage during operation. However, a genuinely incorrect belt for your specific Eureka model will never fit properly, regardless of effort. Always double-check the model number on your vacuum against the belt's compatibility list. Manufacturing variations, even within the same model series, can also occasionally lead to slight discrepancies in belt fit.
Premature belt breakage or shredding often points to underlying mechanical issues beyond the belt itself.
- Misalignment: If the belt is not perfectly seated on both the motor shaft and the brush roll pulleys, it can rub against other components or twist, leading to fraying and breakage. One specific issue reported for Eureka models like the 4885 is the belt rubbing against the drive due to misalignment.
- Excessive Wear on Pivot Points: Worn brush roll bearings or axles can cause increased friction and resistance, forcing the belt to work harder and leading to accelerated wear or snapping.
- Brush Roll Obstructions: Hair, string, carpet fibers, or other debris tightly wrapped around the brush roll can create significant drag, preventing the brush roll from spinning freely and putting immense strain on the belt until it breaks.
- Age and Material Degradation: Over time, even unused belts can degrade, becoming brittle and prone to snapping.
If your Eureka's brush roll isn't spinning despite having just installed a new belt, consider these troubleshooting steps:
- Verify Seating: Ensure the belt is correctly wrapped around both the motor shaft and the brush roll. A common error is for the belt to slip off one of these points during reassembly.
- Check for Obstructions: Manually rotate the brush roll to confirm it spins freely. Clear any hidden debris that might be impeding its movement.
- Inspect Brush Roll Condition: Look for any damage to the brush roll itself, such as bent end caps or worn bristles that could cause it to bind.
- Motor Engagement: With the vacuum unplugged, try to gently turn the motor shaft (if accessible) to ensure it's not seized.
The tension of the belt is crucial for performance and longevity. A belt that is too loose will slip, causing the brush roll to spin inconsistently or not at all, severely impacting cleaning effectiveness. This slippage also generates heat and friction, leading to premature belt wear. Conversely, a belt that is too tight places excessive strain on both the motor and the brush roll bearings. This can lead to increased motor heat, reduced motor lifespan, accelerated wear on the brush roll components, and a higher likelihood of the belt snapping under stress. Achieving the manufacturer's intended tension ensures efficient power transfer without undue stress on the vacuum's internal mechanisms.
Maximizing Belt Life and Maintaining Eureka Vacuum Performance
The drive belt in your Eureka vacuum cleaner is a wear-and-tear component, and its condition directly influences your vacuum's ability to clean effectively. Proactive maintenance and timely replacement are crucial for sustaining peak performance and extending the overall lifespan of your appliance. By understanding the factors that affect belt longevity and implementing simple care routines, Eureka owners can ensure consistent cleaning power.
Regular maintenance of the brush roll is paramount for preventing premature belt damage. Hair, threads, carpet fibers, and other debris can easily become tangled around the brush roll. When this happens, the motor must exert more force to spin the brush, putting excessive strain on the belt. This increased tension and friction can lead to stretching, cracking, or even shredding of the belt, often manifesting as misalignment or wear on pivot points.
- Clean the Brush Roll: Routinely inspect and remove any tangled hair, string, or large debris from the brush roll. Scissors or a seam ripper can be helpful tools for this task.
- Check for Obstructions: Ensure the vacuum's nozzle and air pathways are clear of blockages that could hinder brush roll movement or airflow.
The types of surfaces you vacuum also impact belt wear. High-pile carpets or rugs require the brush roll to work harder, generating more friction and heat, which can accelerate belt degradation. Conversely, frequently vacuuming hard floors, while seemingly less strenuous, can still contribute to wear if the brush roll is engaged and scraping against the surface. Avoid vacuuming large, hard objects that could jam the brush roll or directly damage the belt.
Rather than waiting for a belt to completely break, which often results in a sudden loss of cleaning power, consider proactive replacement based on warning signs. A belt that is stretched, cracked, or fraying indicates impending failure. You might notice the brush roll spinning slower than usual, making an unusual noise, or failing to agitate carpets effectively. Replacing the belt at the first sign of wear helps maintain consistent cleaning performance and prevents potential strain on the vacuum's motor, which could lead to more significant and costly repairs down the line. Proper belt maintenance ensures your Eureka vacuum continues to deliver the deep cleaning it was designed for, protecting your investment and keeping your home cleaner.
Frequently Asked Questions About Eureka Vacuum Belts
Understanding the nuances of your Eureka vacuum's belt can prevent common issues and extend the life of your appliance. Here are answers to frequent questions regarding Eureka vacuum cleaner belts.
-
How do I find my Eureka vacuum model number? To ensure you purchase the correct replacement belt, locating your Eureka vacuum's model number is crucial. This number is typically found on a sticker or label affixed to the back or bottom of the vacuum cleaner. It might also be located under the dirt cup or on the handle base. Once found, record this number accurately for reference when searching for parts.
-
How often should I replace my Eureka vacuum belt? While there's no universal schedule, a good practice is to inspect and consider replacing your Eureka vacuum belt annually, or sooner if you notice signs of wear. Indicators that a belt needs replacement include:
- The brush roll no longer spins or spins intermittently.
- A burning rubber smell during operation.
- Visible cracks, fraying, stretching, or a brittle texture on the belt.
- Reduced cleaning performance, especially on carpets.
-
Why do my Eureka vacuum belts keep breaking? Frequent belt breakage can stem from several issues beyond normal wear and tear. Common causes include:
- Obstructions: Hair, string, or debris wrapped around the brush roll can cause it to seize, leading to the belt snapping under strain.
- Misalignment: Improper installation or wear on the brush roll's pivot points can cause the belt to rub incorrectly, leading to premature shredding.
- Incorrect Belt Size: Using a belt that is too tight for your specific Eureka model can place excessive tension on the motor and brush roll, causing it to break quickly.
- Worn Brush Roll Bearings: If the brush roll itself is difficult to spin by hand, its bearings may be worn, creating resistance that overstresses the belt.
-
Can I use a generic belt for my Eureka vacuum? While generic or "universal" belts are available, using a belt specifically designed for your Eureka model is generally recommended. Belts matched to the manufacturer's specifications ensure the correct length, width, and material composition for optimal tension and durability. Generic options might not provide the precise fit required, potentially leading to reduced performance, increased wear on vacuum components, or premature belt failure.
-
What should I do if my new belt doesn't fit? If a new belt appears not to fit your Eureka vacuum, first verify that you have the correct belt part number for your exact model number. Double-check both numbers against your vacuum's label and the belt packaging. New belts are often designed to be very tight to ensure proper tension and may require significant stretching during installation. If, after confirming the part number and attempting careful installation, the belt still seems incorrect (e.g., too loose to engage, or physically impossible to stretch into place), it's possible you received the wrong part, and you should contact the supplier.
Keep Your Eureka Running Smoothly: The Power of the Right Belt
Maintaining the peak performance of your Eureka vacuum cleaner hinges significantly on one often-overlooked component: the drive belt. As explored, selecting the exact belt specified for your Eureka model is not merely a suggestion but a critical requirement for optimal operation. An ill-fitting or incorrect belt can lead to reduced cleaning efficiency, brush roll malfunction, and even potential strain on the motor, diminishing the very purpose of your vacuum.
Beyond initial selection, consistent and proper belt maintenance directly contributes to sustaining your vacuum's cleaning power and extending its overall lifespan. Regularly inspecting the belt for signs of wear, stretching, or damage, and replacing it proactively when needed, prevents performance degradation and ensures the brush roll continues to agitate effectively.
By applying the guidance provided to accurately identify, purchase, and correctly install the appropriate replacement belt, Eureka owners can confidently restore and maintain their vacuum's brush roll function. This proactive approach ensures your Eureka continues to deliver the thorough cleaning performance it was designed for, keeping your home consistently cleaner.
More in Vacuum Cleaner Belts
View All