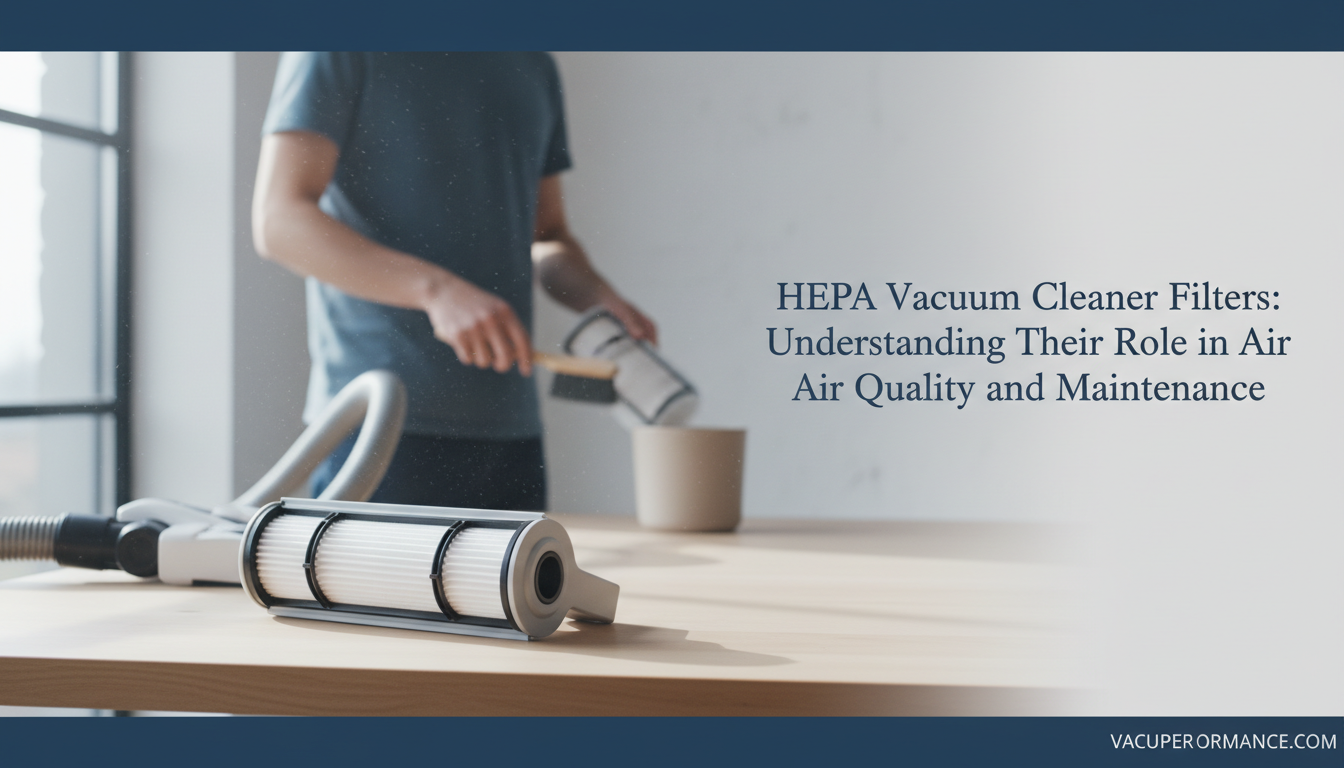
How to Clean Vacuum Cleaner Filters: A Step-by-Step Guide to Maximize Lifespan
Why Clean Your Vacuum Filters? The Key to Lasting Performance
A vacuum cleaner's effectiveness hinges significantly on the condition of its filters. When filters become saturated with dust, dirt, and allergens, the vacuum's airflow is restricted. This often leads to a noticeable reduction in suction power, forcing the motor to work harder and potentially causing it to overheat. Neglecting filter maintenance can not only diminish cleaning performance but also shorten the overall lifespan of your appliance.
Regularly cleaning your vacuum filters offers immediate and long-term benefits. A clean filter ensures your vacuum maintains optimal suction, efficiently capturing debris and improving the cleanliness of your floors. Crucially, it also contributes to better indoor air quality by effectively trapping fine particles and allergens, preventing them from being recirculated into your home. This proactive approach helps extend the life of your vacuum by reducing strain on its internal components.
This comprehensive guide will detail the practical steps for cleaning various types of vacuum filters, identify common pitfalls to avoid, and provide guidance on recognizing when a filter requires replacement rather than just cleaning. Always consult your vacuum's owner's manual, as manufacturer instructions are paramount for correct filter care.
Identify Your Filter: The First Step to Proper Cleaning
Before attempting any cleaning, understanding the specific type of filter in your vacuum cleaner is crucial. Misidentifying your filter can lead to damage, reduced vacuum performance, or even render the filter unusable. The most reliable source for this information is always your vacuum cleaner's owner's manual. This document provides model-specific instructions on filter removal, cleaning, and replacement, including whether a filter is designed to be washable. If you no longer have a physical copy, most manufacturers offer digital versions on their websites.
Vacuum cleaner filters generally fall into two main categories: washable and non-washable. This distinction dictates the cleaning method. Attempting to wash a non-washable filter, particularly with water, can severely compromise its structure and filtration capabilities. The materials used in non-washable filters are often not designed to withstand moisture, leading to deterioration, mold growth, or a complete loss of filtering efficiency.
Common filter materials include:
- Foam filters: Often found in canister or stick vacuums, these are typically washable and designed to trap larger particles. They are usually resilient to water.
- Pleated paper filters: Frequently seen in shop vacuums or some upright models, these are generally not washable. Water can damage the paper fibers, reducing their ability to capture fine dust and potentially causing the pleats to collapse.
- HEPA filters: High-Efficiency Particulate Air filters are designed to capture a high percentage of microscopic particles. While some HEPA filters are explicitly labeled "washable," many are not. Washing a non-washable HEPA filter can destroy its intricate fiber structure, rendering it ineffective at trapping allergens and fine dust.
Always consult your vacuum's manual to confirm the washability of your specific filter type. Proceeding without this confirmation risks not only damaging the filter but also impairing your vacuum's suction power and air purification capabilities.
Step-by-Step: How to Clean Washable Vacuum Filters
Maintaining your vacuum's washable filters is crucial for sustaining suction power and extending the appliance's lifespan. Before beginning, always consult your vacuum cleaner's owner's manual to confirm the filter is indeed washable and for any specific cleaning instructions. This ensures you avoid damage and maintain warranty validity.
-
Prioritize Safety and Access the Filter: Begin by unplugging your vacuum cleaner from the power outlet to prevent accidental activation. Next, remove the dustbin or canister according to your vacuum's design. Locate the washable filter(s), which are often made of foam or pleated synthetic material, and carefully remove them. Many filters require a twist or pull motion; refer to your manual if unsure.
-
Remove Loose Debris: Over a trash can or outdoors, gently tap the filter against a hard surface to dislodge any loose dust, hair, and larger debris. This initial step prevents excessive clogging of your sink and makes the rinsing process more efficient. Avoid aggressive shaking or brushing that could damage the filter material.
-
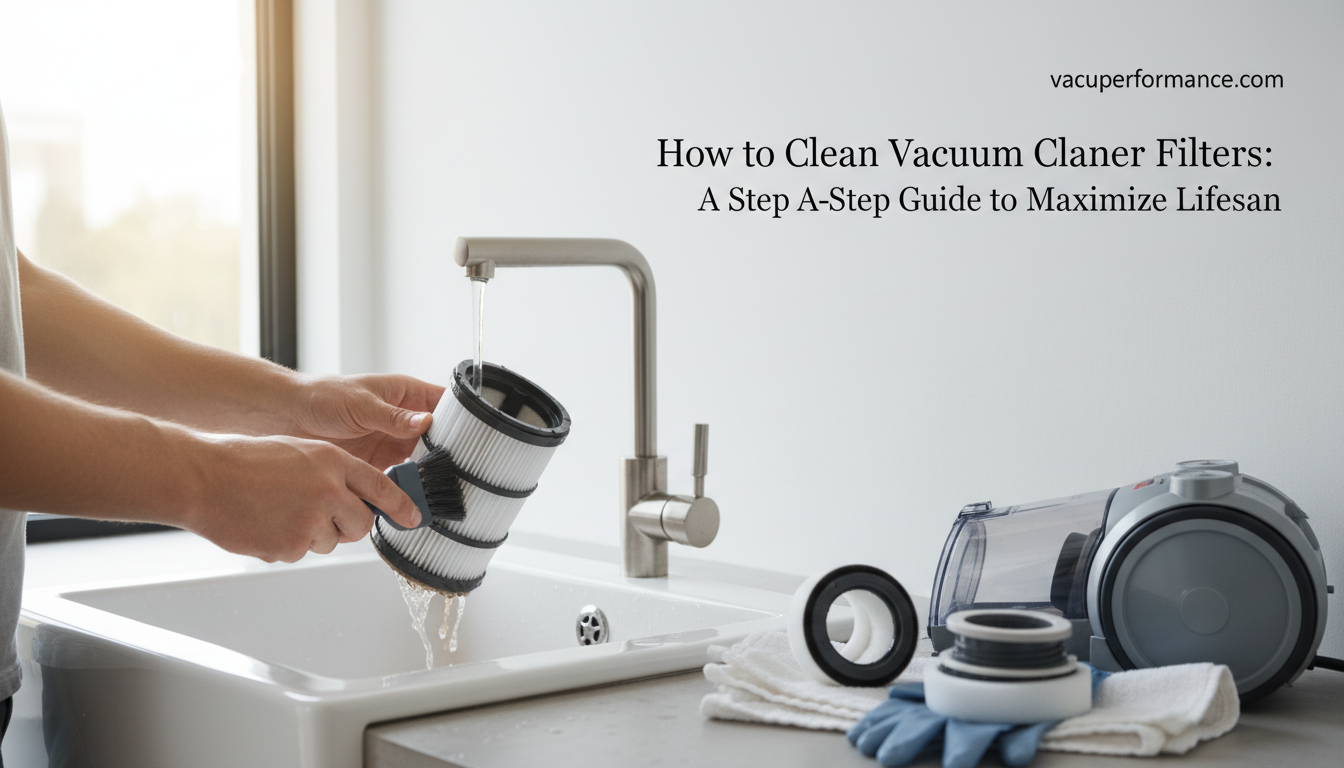
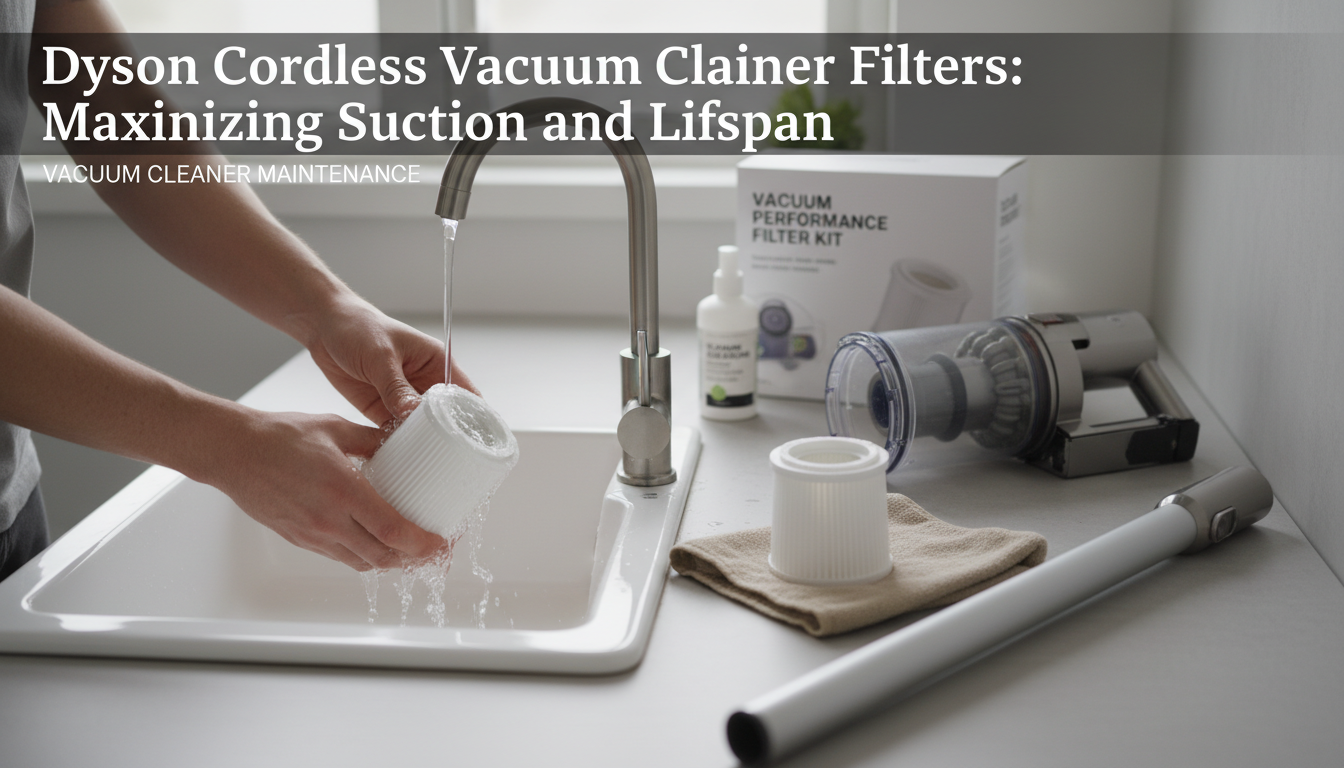
Rinse with Cool Water: Hold the filter under cool, running tap water. Allow the water to flow through the filter from the clean side (the side that faces the motor) to the dirty side. Gently squeeze foam filters or carefully manipulate pleated filters under the water until the water runs clear. Avoid using hot water, which can damage certain filter materials.
-
Address Heavy Soiling (Optional): For filters that are heavily soiled or have a greasy residue, a small amount of mild dish soap can be used. Apply a pea-sized amount to the filter, gently work it into a lather, and then rinse thoroughly under cool running water until all soap residue is gone and the water runs clear. Ensure no suds remain, as soap residue can affect filter performance.
-
Ensure Complete Drying: This is a critical step. Squeeze out excess water from foam filters. Place all washable filters in a well-ventilated area to air dry completely. Do not use heat sources like a hairdryer or direct sunlight, as this can warp or damage the filter material. Depending on humidity and filter thickness, drying can take at least 24 to 48 hours. Reinstalling a damp filter can lead to mold growth, unpleasant odors, and potential damage to your vacuum's motor. Ensure the filter is bone dry before placing it back into your vacuum.
Caring for Non-Washable Vacuum Filters: Dry Cleaning Methods
For vacuum filters explicitly designated as non-washable by the manufacturer, exposing them to water can cause irreparable damage, compromise their filtration capabilities, and potentially lead to mold growth. These filters are typically made from materials like pleated paper or certain HEPA media that are designed to trap fine particles dry. Proper dry cleaning methods are essential to maintain their effectiveness and extend their lifespan until replacement is necessary.
To clean non-washable filters, follow these steps:
- Gentle Tapping: After carefully removing the filter from your vacuum, take it to a trash can or outdoors. Hold the filter firmly and gently tap it against the inside of the bin or a hard surface. This action helps dislodge loose dust, dirt, and debris trapped within the filter pleats without damaging the delicate material. Rotate the filter to tap all sides.
- Brushing Away Debris: Use a soft-bristled brush, such as an old toothbrush or a dedicated filter cleaning brush, to gently brush away any remaining surface dust and particles. Work with the grain of the pleats if applicable, avoiding excessive pressure that could tear the filter material.
- Compressed Air (Use with Caution): For deeply embedded dust, a can of compressed air can be used. Hold the can upright and spray short bursts from a distance (typically 6-12 inches) while moving across the filter surface. Always spray from the clean side of the filter outwards to push debris through. Exercise extreme caution, as high-pressure air can damage delicate filter media if used too closely or aggressively. Always refer to your vacuum's manual to confirm if compressed air is permissible for your specific filter type.
Water must be avoided for these filters because their construction materials are not designed to withstand moisture. Water can break down the paper or fiber structure, reduce filtration efficiency, and create an environment for mold and mildew to grow, which can then be dispersed into your home's air during vacuuming.
Even with diligent dry cleaning, non-washable filters have a finite lifespan. Look for these signs that indicate a replacement is needed rather than just another cleaning:
- Visible Discoloration: If the filter remains heavily discolored or gray, even after thorough dry cleaning, it's likely saturated with fine particles that cannot be removed.
- Tears or Damage: Any rips, holes, or deformities in the filter material compromise its ability to trap particles effectively.
- Persistent Odors: If your vacuum emits a musty or unpleasant smell despite regular cleaning, the filter may be harboring bacteria or mold, requiring replacement.
- Reduced Suction: A noticeable and persistent decrease in suction power, even after cleaning the filter and emptying the dust bin, often indicates the filter is clogged beyond effective cleaning.
Special Care for HEPA Filters: What You Need to Know
High-Efficiency Particulate Air (HEPA) filters play a crucial role in improving indoor air quality by capturing microscopic particles, such as pet dander, pollen, dust mites, and mold spores, that standard filters might miss. Their dense, pleated construction is designed to trap at least 99.97% of airborne particles 0.3 microns in size. This exceptional filtration capability makes them particularly valuable for individuals with allergies or asthma, but it also necessitates specific care to maintain their integrity and effectiveness.
The most critical distinction for HEPA filters is whether they are designed to be washable or non-washable. Attempting to wash a non-washable HEPA filter can severely compromise its delicate structure and filtration efficiency. The tightly woven fibers can become damaged, leading to reduced ability to trap fine particles, and moisture can encourage mold or mildew growth within the filter material. Always consult your vacuum cleaner's owner's manual to confirm the specific type of HEPA filter installed in your model and its recommended maintenance.
For HEPA filters confirmed by the manufacturer to be washable, a gentle approach is essential:
- Remove Carefully: Detach the filter from the vacuum, taking care not to dislodge trapped debris into the air.
- Rinse with Cool Water: Hold the filter under cool, running tap water, allowing the water to flow through the pleated side, pushing dirt out from the inside. Avoid using hot water or harsh detergents, which can damage the filter material.
- Avoid Scrubbing: Do not scrub, brush, or wring the filter, as this can tear the delicate pleats and reduce its filtration capacity.
- Thorough Drying: Allow the filter to air dry completely for at least 24-48 hours before reinserting it into the vacuum. Placing it in direct sunlight or using a heat source can warp or damage the filter. Ensure it is bone dry to prevent mold growth and maintain airflow.
However, the majority of HEPA filters are non-washable. For these types, cleaning typically involves dry methods or replacement:
- Gentle Tapping: Carefully tap the filter against a hard surface (e.g., inside a trash can) to dislodge loose dust and debris.
- Soft Brushing: Use a soft brush or a dry cloth to gently remove surface dust. Avoid any action that could push debris deeper into the filter material or damage the pleats.
- Vacuuming (Low Suction): Some manufacturers may permit using another vacuum cleaner on a low suction setting to carefully vacuum the surface of the HEPA filter. Refer to your manual for specific guidance.
- Replacement: Due to their intricate design and the risk of damage from improper cleaning, many non-washable HEPA filters are designed for periodic replacement rather than cleaning. The manual will specify the recommended replacement schedule, typically every 6 to 12 months, depending on usage.
Understanding these distinctions and adhering to manufacturer guidelines is crucial for maintaining the high-performance filtration that HEPA filters are designed to provide, ensuring both effective cleaning and healthier indoor air.
Troubleshooting, Common Mistakes, and When to Replace Your Filter
Even with diligent cleaning, vacuum filters have a finite lifespan. Recognizing the signs of a failing filter and understanding common maintenance pitfalls are crucial for maintaining optimal vacuum performance and avoiding costly damage. Proper diagnosis helps you decide whether a filter needs another clean or if it's time for replacement.
Avoiding Common Filter Maintenance Errors
Incorrect cleaning practices can compromise filter integrity, reduce efficiency, and even damage your vacuum. Being aware of these common mistakes can extend the life of your filters and appliance:
- Washing Non-Washable Filters: This is perhaps the most critical error. Attempting to rinse paper, pleated, or certain HEPA filters not explicitly labeled as washable can destroy their delicate structure, leading to immediate loss of filtration capability and potential motor damage if particles bypass the compromised filter. Always consult your vacuum's manual to confirm if a filter is washable.
- Re-installing Wet Filters: Placing a damp filter back into the vacuum can lead to mold and mildew growth, which introduces unpleasant odors and can spread spores into your home. Moisture can also corrode internal components or short-circuit electrical parts, leading to motor failure. Filters, especially washable ones, must be completely air-dried before re-insertion.
- Using Harsh Cleaning Agents: Soaps, detergents, or chemical cleaners not specifically recommended by the manufacturer can degrade filter materials, reducing their effectiveness. These chemicals can also leave residues that restrict airflow or release fumes during vacuum operation. Plain water is usually sufficient for washable filters, or a mild, approved detergent if specified in the manual.
- Aggressive Cleaning: Brushing or tapping filters too forcefully, particularly pleated or HEPA types, can tear the material or dislodge crucial filtration media. This creates pathways for dust and allergens to escape. Gentle handling is key.
These errors can lead to risks such as reduced suction, persistent odors, increased motor strain, and diminished indoor air quality as the filter's ability to capture particles is compromised.
Recognizing When Cleaning Isn't Enough
While cleaning extends a filter's life, there comes a point when replacement is necessary. Watch for these indicators that suggest your filter has reached the end of its effective service:
- Persistent Odor: If your vacuum emits a musty or foul smell even after cleaning the filter and emptying the dustbin, it often indicates embedded bacteria or mold within the filter material that cannot be removed.
- Visible Damage: Tears, holes, fraying, or significant deterioration of the filter material are clear signs that it can no longer effectively trap particles.
- Permanent Discoloration or Caking: If a filter remains heavily discolored, stiff, or caked with fine dust despite thorough cleaning, its pores may be permanently clogged, severely restricting airflow.
- Reduced Suction Power: A noticeable and persistent drop in suction, even after cleaning the filter and checking for blockages elsewhere in the vacuum, points to an inefficient filter.
- Dust Escaping Exhaust: If you observe fine dust or particles being expelled from the vacuum's exhaust, it means the filter is no longer trapping them effectively.
General Replacement Guidelines and Sourcing
The lifespan of a vacuum filter varies significantly based on usage frequency, the type of debris collected, and environmental factors (e.g., pet hair, construction dust). As a general guideline, washable filters might need replacement every 3-6 months, while non-washable or HEPA filters often require replacement every 12-18 months. However, always defer to your vacuum cleaner's owner's manual for specific recommendations, as these can differ by model and manufacturer.
An aging filter, even if seemingly clean, can gradually lose its electrostatic charge or structural integrity, leading to a decline in filtration efficiency. This impacts not only vacuum performance but also indoor air quality, allowing more allergens and fine particles to recirculate.
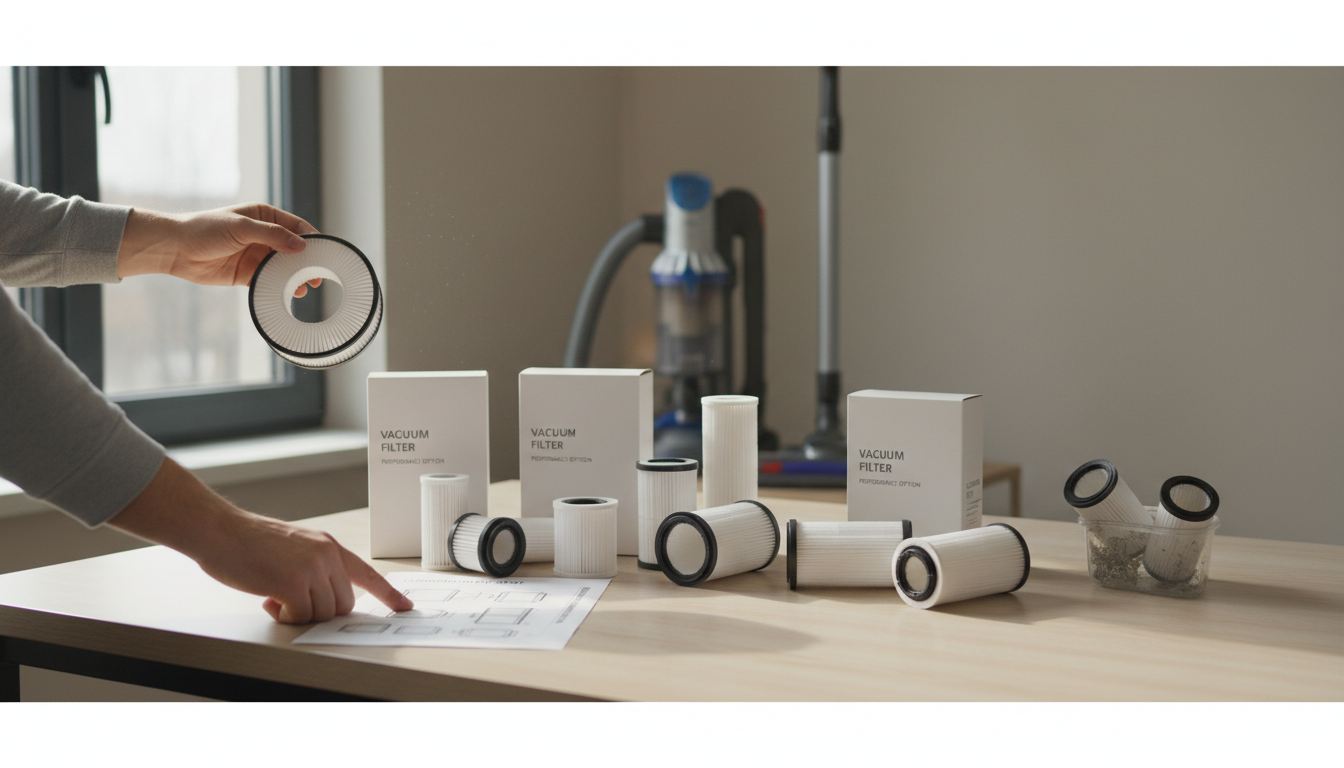
When it's time for a new filter, identifying the correct replacement is crucial for proper fit and performance. The most reliable method is to consult your vacuum's owner's manual for the specific part number. If the manual is unavailable, locate the model number on your vacuum and search the manufacturer's website. Often, the filter itself will have a part number printed on it. Ensure the replacement filter is designed for your specific vacuum model to guarantee a proper seal and optimal filtration.
Frequently Asked Questions About Vacuum Filter Cleaning
Maintaining your vacuum's filters can raise several questions. Understanding the specifics helps ensure effective cleaning and extends the life of your appliance.
-
How often should vacuum filters be cleaned? The frequency depends on your vacuum's usage and your household environment. For average use, many manufacturers recommend cleaning washable filters every 1 to 3 months. If you vacuum frequently, have pets, or deal with high levels of dust or allergens, you may need to clean them monthly or even more often. Always refer to your vacuum's owner's manual for model-specific guidelines, and visually inspect your filters regularly for heavy dirt accumulation.
-
Can all vacuum filters be washed? No, not all vacuum filters are designed for washing. It is crucial to consult your vacuum cleaner's owner's manual to determine if your specific filter type is washable. While many foam and felt filters can be rinsed, paper-based filters and some HEPA filters are not washable. Attempting to wash a non-washable filter can severely damage its structure, compromise its filtration effectiveness, or lead to mold growth.
-
What are the consequences of not cleaning filters regularly? Neglecting filter cleaning can significantly impact your vacuum's performance and longevity. Clogged filters restrict airflow, leading to a noticeable decrease in suction power. This forces the vacuum's motor to work harder, increasing the risk of overheating and premature wear. Furthermore, dirty filters are less effective at trapping dust and allergens, allowing these particles to be recirculated back into your home's air.
-
Is it okay to use dish soap or other cleaners? Only use mild dish soap if your vacuum cleaner's manual explicitly permits it for your washable filter type, typically foam filters. Harsh chemical cleaners, detergents, or excessive amounts of soap can damage the filter material, reduce its filtration capacity, or leave residues that may affect performance or create odors. If soap is used, ensure it is thoroughly rinsed out.
-
How long does a washed filter need to dry completely? A washed filter must be completely dry before being reinserted into your vacuum cleaner. This process typically takes 24 to 48 hours, depending on the filter's material, thickness, and ambient humidity. Placing a damp filter back into the vacuum can lead to mold and mildew growth, which can damage the filter and the vacuum, and introduce unpleasant odors. Always allow filters to air dry naturally; avoid using heat sources like hair dryers, which can warp or damage the filter material.
Maintain Your Vacuum, Maintain Your Home
The effort invested in understanding and properly maintaining your vacuum cleaner's filters directly translates into a cleaner living environment and a longer lifespan for your appliance. By consistently identifying your filter type, cleaning it according to manufacturer guidelines, and knowing when replacement is necessary, you prevent common issues like reduced suction and motor strain. This proactive approach ensures your vacuum operates at its peak, effectively capturing dust and allergens rather than recirculating them.
Consider filter maintenance a fundamental part of your home cleaning routine, not just an occasional chore. It's a simple, yet impactful habit that safeguards your vacuum's performance and contributes to improved indoor air quality. Embracing these practices can defer the need for costly repairs or premature replacements, allowing your vacuum to serve its purpose efficiently for years to come.
To ensure the best results and avoid potential damage, always refer to your specific vacuum cleaner's owner's manual for detailed instructions unique to your model. Apply the techniques learned here, tailored by your manual's guidance, and experience the sustained benefits of a well-maintained vacuum.
More in Vacuum Cleaner Filters
View AllDyson Cordless Vacuum Cleaner Filters: Maximizing Suction and Lifespan