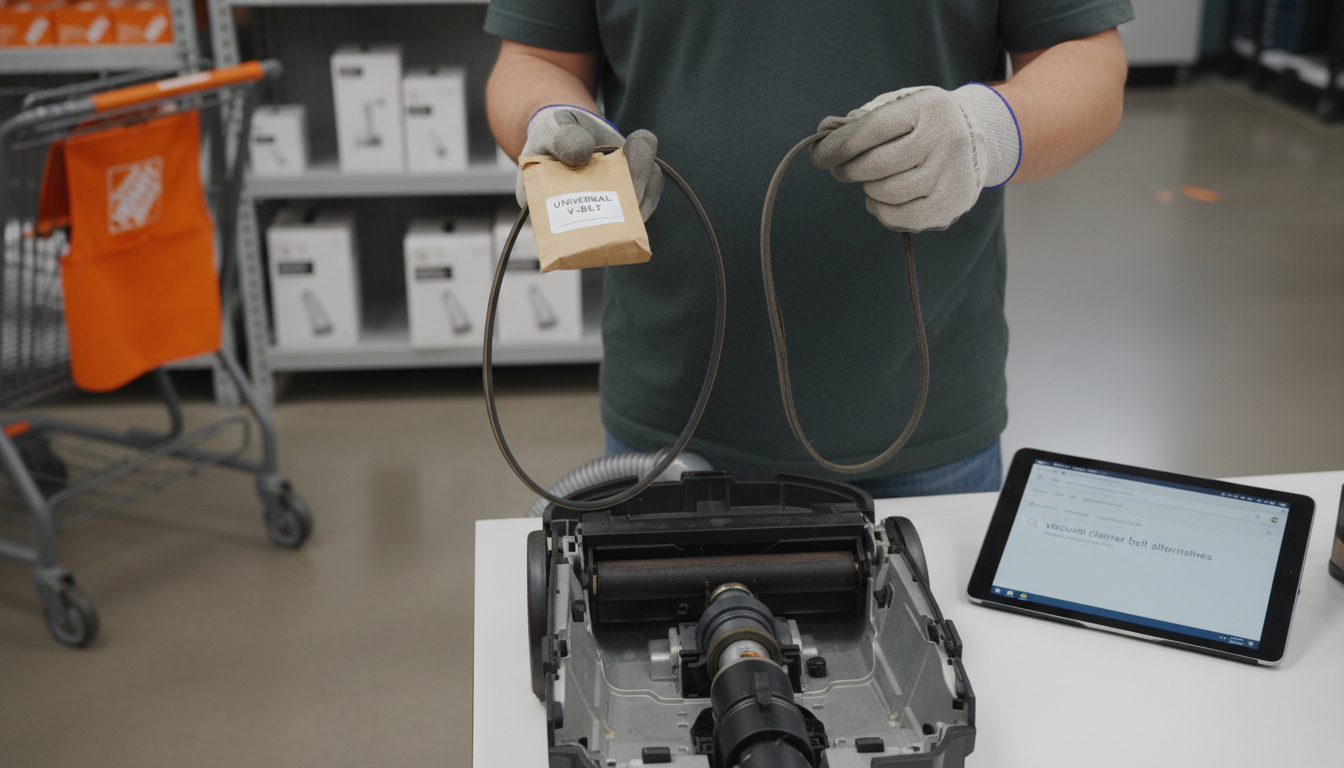
Hoover Vacuum Cleaner Replacement Belts: Maintaining Suction and Brushroll Function
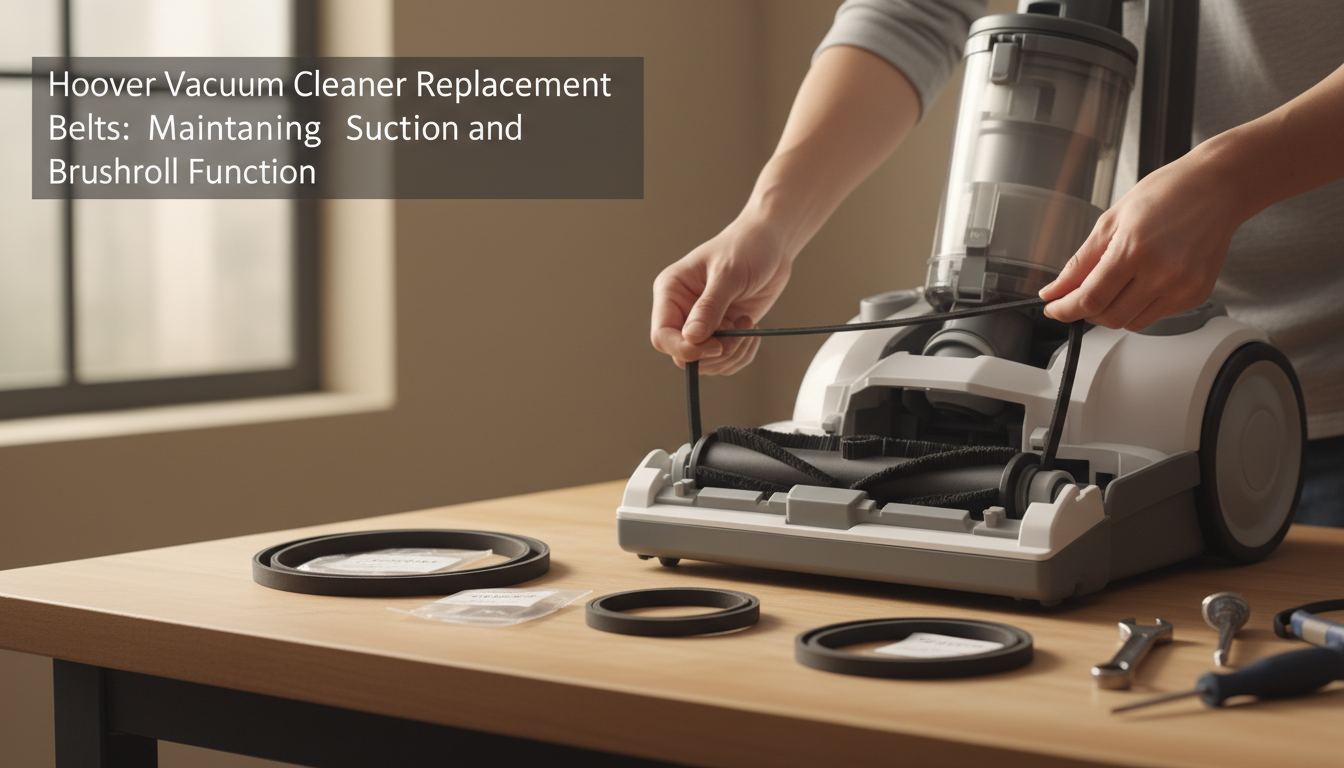
The Essential Guide to Hoover Vacuum Cleaner Replacement Belts
Few things are as frustrating as a Hoover vacuum that suddenly loses its cleaning prowess. You might notice the brushroll has stopped spinning, or perhaps the suction power feels significantly weaker, leaving behind dirt and debris. These common performance issues often signal a problem with the vacuum's drive belt. This small but crucial component is responsible for transferring power from the motor to the brushroll, enabling deep cleaning.
A worn, stretched, or broken drive belt can render your Hoover vacuum ineffective, diminishing its ability to agitate carpet fibers and pick up dirt efficiently. Ignoring this issue can lead to further strain on the motor or simply a less effective cleaning experience. The good news is that replacing a Hoover vacuum belt is a manageable task that can restore your appliance to optimal working condition.
This comprehensive guide is designed specifically for Hoover vacuum owners. We will walk you through the process of:
- Identifying the correct replacement belt for your specific Hoover model.
- Understanding key considerations when purchasing a new belt.
- Confidently replacing the belt to restore your vacuum's suction and brushroll function.
Why Your Hoover Vacuum Needs a New Belt: Understanding Performance Issues
The drive belt in your Hoover vacuum cleaner plays a fundamental role in its cleaning effectiveness, particularly on carpeted surfaces. This seemingly small component is responsible for transferring rotational power from the vacuum's motor to the brushroll. The brushroll, with its bristles, agitates carpet fibers, dislodging embedded dirt and debris, which is then more easily vacuumed up by the suction airflow. When this power transfer is compromised, your vacuum's ability to clean efficiently diminishes significantly.
Recognizing the signs of a failing belt can help you address the issue promptly:
- Non-spinning brushroll: This is the most direct indicator. If your vacuum is on but the brushroll isn't rotating, a broken or severely stretched belt is the likely culprit.
- Reduced cleaning performance: Even if the brushroll spins weakly, it won't agitate effectively, leading to visible dirt remaining on carpets after vacuuming.
- Burning rubber smell: A belt that is slipping excessively due to wear or a jammed brushroll can generate friction and heat, producing a distinct burning odor.
- Visual wear: Inspecting the belt may reveal cracks, fraying, stretching, or a complete break.
Ignoring a faulty belt can lead to more than just ineffective cleaning. Continued use with a slipping or broken belt can place undue strain on the vacuum's motor, potentially leading to overheating or premature motor failure. It can also cause wear on other internal components if the brushroll is jammed and the motor is still attempting to drive it.
Hoover vacuums utilize various belt types, each designed for specific models and performance requirements:
- Flat belts: Common in many upright models, these belts are typically wide and flat, providing a broad contact surface for power transfer.
- V-belts: These belts have a V-shaped cross-section that fits into corresponding grooves, offering enhanced grip and efficiency, sometimes found in older designs or specific heavy-duty models.
- Geared or Cogged belts: Featuring teeth that mesh with gears on the motor and brushroll, these belts ensure precise, slip-free power transmission, often used where consistent brushroll speed is critical.
Identifying the correct belt type and ensuring a proper fit is essential for restoring and maintaining your Hoover vacuum's optimal performance.
Identifying the Correct Replacement Belt for Your Hoover Vacuum Model
Selecting the correct replacement belt is paramount for restoring your Hoover vacuum's optimal suction and brushroll function. Hoover produces a wide array of vacuum models, each potentially requiring a unique belt specification. An incorrect belt can lead to poor performance, premature wear, or complete failure of the brushroll mechanism.
To ensure you acquire the precise belt for your unit, follow these steps:
-
Pinpoint Your Hoover Vacuum's Model Number: This specific alphanumeric identifier is the most critical piece of information. It ensures you select a belt engineered for your vacuum's design and power requirements. You can typically find this model number on a sticker or label affixed to the back, bottom, or handle of your Hoover vacuum cleaner. On some uprights, it might be located behind the dirt cup or on the powerhead.
-
Recognize Hoover's Belt Naming Conventions: Hoover replacement belts are identified by distinct part numbers. These can be entirely numerical, such as
38528-033(a common belt for certain WindTunnel models) or440005136(used in specific SH series units). Other belts might have alphanumeric codes likeAH20080(another WindTunnel variant) or001942002(found in Platinum Collection Linx stick vacuums). Knowing these specific part numbers, if available from your original belt or manual, greatly streamlines the search. -
Verify Compatibility Through Cross-Referencing: Once you have your vacuum's model number, and ideally the original belt's part number, cross-reference this information with the specifications provided by belt manufacturers or retailers. Reputable product listings for replacement belts will explicitly state which Hoover vacuum models or original part numbers they are designed to replace. Confirm that your specific model number is listed as compatible before making a purchase.
-
Account for Hoover Series Specificity: Some Hoover belts are not universally interchangeable across different product lines. Belts designed for a Hoover WindTunnel series vacuum, for instance, may differ significantly from those required for a T-Series or a Platinum Collection Linx model. Always confirm that the replacement belt explicitly matches your vacuum's specific series in addition to its model number to guarantee proper fit and long-term performance.
How to Replace Your Hoover Vacuum Cleaner Belt: A General Guide
Restoring your Hoover vacuum's performance often involves replacing a worn or broken drive belt. While specific steps can vary significantly across Hoover models, a general understanding of the process can empower you to perform this maintenance yourself. Always prioritize safety before beginning any repair.
- Safety First: Before touching any part of your vacuum, always unplug it from the electrical outlet. This prevents accidental activation and reduces the risk of electrical shock or injury.
- Gather Your Tools: Most belt replacements require only basic household tools. You'll typically need a Phillips-head or flat-head screwdriver to remove screws securing covers, and potentially a pair of pliers for gripping or maneuvering. A flashlight can also be helpful for better visibility.
- Access the Brushroll Area:
- Lay your Hoover vacuum flat on its front, ensuring the brushroll and bottom plate are easily accessible.
- Locate the screws that secure the bottom plate or brushroll cover. These are usually visible on the underside of the vacuum.
- Carefully remove these screws and set them aside in a safe place.
- Gently lift off the bottom plate or cover to expose the brushroll and the belt mechanism. You may need to wiggle it slightly to release any clips.
- Remove the Old Belt:
- Once the brushroll is exposed, you'll likely see the old belt, which might be broken, stretched, or simply slipped off.
- If the belt is intact but loose, carefully roll it off the motor shaft and brushroll.
- If the belt is broken, remove any remaining pieces from both the motor shaft and the brushroll.
- Install the New Belt:
- Loop the new replacement belt around the motor shaft (the smaller pulley).
- Next, stretch the belt over the brushroll. This step often requires some tension and careful maneuvering to ensure the belt sits correctly in the groove of the brushroll. Ensure the belt is not twisted.
- Once the belt is seated on both the motor shaft and the brushroll, spin the brushroll by hand a few times to confirm the belt is properly aligned and moves freely without slipping.
- Reassemble and Test:
- Carefully replace the bottom plate or brushroll cover, aligning it correctly and securing it with the screws you removed earlier. Do not overtighten.
- Flip the vacuum upright and plug it back into an electrical outlet.
- Turn on the vacuum to a hard floor setting (if applicable) or lift the vacuum slightly to observe the brushroll. It should spin smoothly and consistently, indicating proper belt installation and restored function.
- If the brushroll doesn't spin or makes an unusual noise, unplug the vacuum immediately and re-check the belt installation.
Important Disclaimer: The exact steps and components can vary significantly between different Hoover vacuum models (e.g., upright, canister, stick, WindTunnel, PowerDash). Always consult your specific Hoover vacuum cleaner's owner's manual for detailed, model-specific instructions and diagrams. This general guide serves as a foundational understanding, but your manual is the definitive resource for your particular model.
Common Issues and What to Avoid When Buying Hoover Replacement Belts
Choosing the correct replacement belt for your Hoover vacuum is crucial for restoring its performance, but several pitfalls can lead to further frustration or even damage. Understanding these risks can help you make an informed decision.
One primary concern is selecting a belt of the wrong size. A belt that is too tight places undue strain on the vacuum's motor, potentially leading to premature motor failure or rapid belt breakage. Conversely, a belt that is too loose will slip, preventing the brushroll from spinning effectively or at all, which directly impacts cleaning performance. The brushroll may slow down, stop entirely, or fail to agitate carpet fibers, leaving dirt behind.
When considering options, you'll encounter both Original Equipment Manufacturer (OEM) belts and aftermarket alternatives. OEM belts, produced by Hoover, generally offer the highest assurance of precise fit, material quality, and durability, as they are designed to meet the vacuum's original specifications. Aftermarket belts can be more budget-friendly, but their quality varies significantly. Key trade-offs often involve:
- Material Quality: Aftermarket belts may use different rubber or synthetic compounds, impacting elasticity and heat resistance.
- Durability: Lower-quality materials can lead to belts stretching out quickly or breaking sooner than expected.
- Fit Accuracy: Even if listed for your model, some aftermarket belts might have slight dimensional inconsistencies that affect performance.
Common complaints associated with lower-quality aftermarket belts include premature breakage, difficulty fitting them correctly onto the brushroll and motor pulley, and even producing burning smells during operation. These smells often indicate excessive friction caused by an ill-fitting belt or inferior material overheating.
To mitigate these risks when considering non-OEM options, carefully verify the seller's reputation. Look for consistent positive product reviews that specifically mention good fit and longevity for your particular Hoover model. Generic positive reviews may not be sufficient. Finally, exercise caution with "universal" belts. Unless a belt explicitly states compatibility with your specific Hoover model number, it is unlikely to provide the precise fit required for optimal function and can introduce the very problems you are trying to solve.
Ensuring Optimal Performance: Your Final Decision for Hoover Belts
Making the final selection for a replacement Hoover vacuum belt involves confirming a few critical details to guarantee your vacuum returns to optimal performance. The right belt restores both brushroll rotation and effective suction, directly impacting your cleaning results.
Key considerations before finalizing your purchase include:
- Exact Model Match: Reconfirm that the belt's part number or specifications precisely match your Hoover vacuum's model number. This is the most crucial step, as even slight variations can lead to poor fit, premature wear, or damage. Pay close attention to the belt type—whether it's a flat, geared (cogged), or V-belt—to ensure it corresponds with your vacuum's original design.
- Consider Multi-Packs: Drive belts are wear items designed to stretch and eventually break over time. Purchasing replacement belts in multi-packs can offer both convenience and potential cost savings. Having a spare on hand minimizes downtime when a belt eventually fails, allowing for immediate replacement.
- Reputable Purchase Channels: Source your replacement belt from authorized Hoover dealers or reputable online retailers specializing in vacuum parts. These channels are more likely to provide genuine parts or high-quality compatible alternatives, often backed by clear product descriptions and customer support. Verify the seller's return policy in case of an incorrect order.
- Final Verification: Before completing your purchase, take a moment to review any available product descriptions or customer feedback, particularly if reviews mention compatibility with your specific Hoover model. This can offer practical insights into fit and durability.
Investing in the correct replacement belt is a small but impactful decision that directly contributes to the longevity and efficiency of your Hoover vacuum. It ensures your appliance can continue to perform its core function of cleaning effectively, protecting your initial investment in the vacuum itself.
Frequently Asked Questions About Hoover Vacuum Belts
Here are answers to common questions Hoover vacuum owners have regarding replacement belts, helping you maintain your machine's performance.
How often should I replace my Hoover vacuum belt? There isn't a fixed schedule for belt replacement, as it depends heavily on vacuum usage. Signs like reduced brushroll effectiveness, a burning rubber smell, or visible cracking on the belt indicate it's time for a change. For frequent users, checking the belt every 6 to 12 months is a practical approach, replacing it when performance noticeably declines.
Can I use a different brand's belt on my Hoover vacuum? It is generally not advisable to use a different brand's belt. Hoover vacuum belts are engineered with specific dimensions, materials, and tension requirements to match their corresponding models. Using a non-Hoover belt can lead to improper fit, insufficient brushroll rotation, excessive strain on the motor, or premature belt failure, ultimately affecting cleaning performance and potentially damaging your vacuum.
What if my brushroll still isn't spinning after replacing the belt? If your brushroll remains inactive after installing a new belt, first ensure the belt is correctly seated and tensioned. Then, check the brushroll itself for any obstructions like tangled hair or debris that might be preventing its rotation. Inspect the brushroll's end caps or bearings for wear or damage. For certain Hoover shampooer models, a non-spinning brushroll might indicate an issue with the air-driven turbine assembly rather than the belt.
Are all Hoover belts made of the same material? No, Hoover vacuum belts can be manufactured from various materials. While many are commonly made from durable rubber compounds, some may incorporate synthetic materials designed for specific performance characteristics, such as enhanced flexibility or resistance to stretching. The material choice is optimized by Hoover for each vacuum model's design and intended application.
How do I know if my Hoover vacuum uses a flat belt or a geared belt? The simplest way to identify the belt type is by visual inspection of your existing belt or by consulting your Hoover vacuum's user manual or a parts diagram for your specific model. Flat belts appear smooth and wide, typically wrapping around pulleys. Geared (or cogged) belts feature distinct teeth that interlock with corresponding gears on the motor and brushroll, ensuring precise, synchronized rotation.

More in Vacuum Cleaner Belts
View All